Free tutorial: How to sew a maxi scarf?


You've seen it everywhere this winter: the scarf jacket trend! It's winter, we want warm and cozy clothes, but always with style. We've seen it a lot in recent years, the scarf jacket is the ideal trend to spend the winter warm and elegant.

Like many, I wanted to adopt this trend but in a sustainable way. I looked for a solution to create timeless and versatile pieces that could accompany me through the years without only responding to a micro-trend and therefore creating a disposable garment.
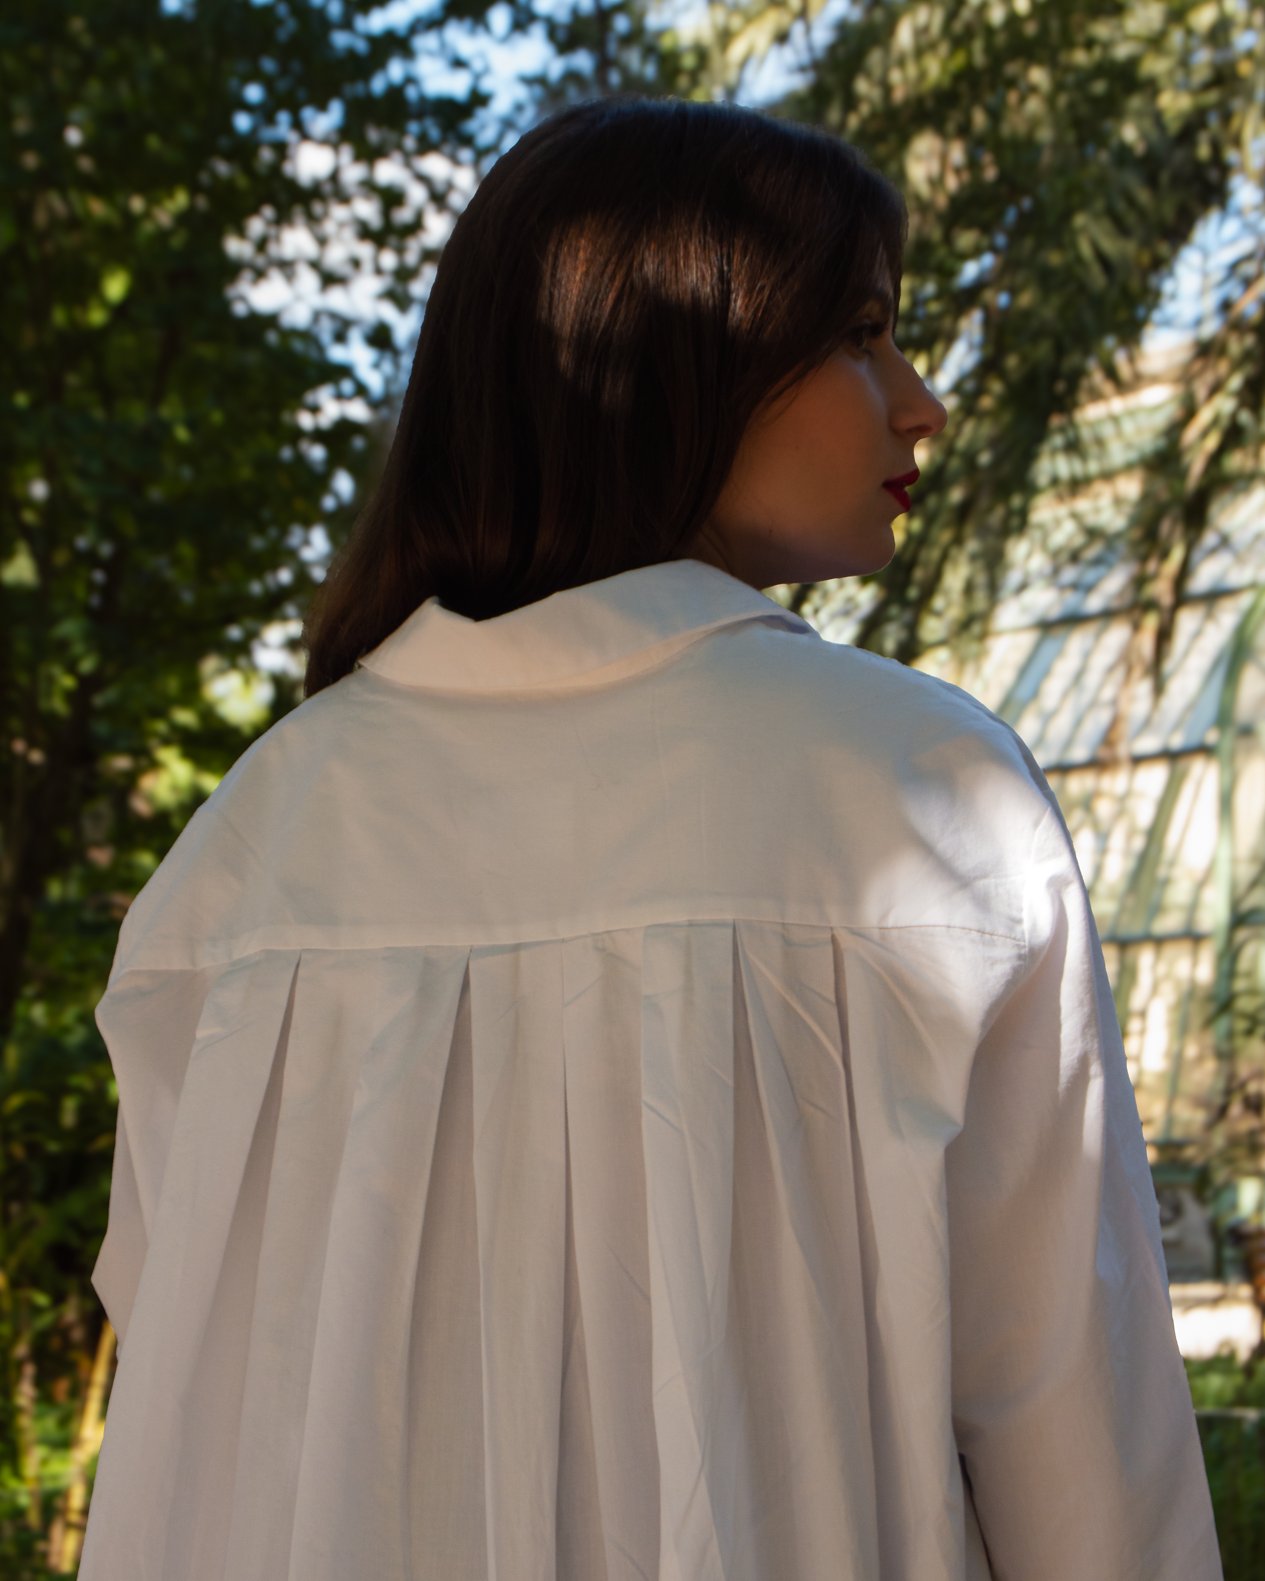
After some thought, I decided to create the Prune sewing pattern : a cozy oversized cardigan, to mix endlessly with your best outfits AND a free tutorial for a maxi scarf to layer over your cardigan to allow you to adopt the scarf jacket trend while gaining two timeless pieces that you can use in all your outfits, together or separately.
Free Tutorial: How to Sew a Maxi Scarf
Level: Beginner
Supplies needed:
- 1 rectangle of 230 cm x 50 cm of fabric
- 1 metal spring clip (optional)
This tutorial offers two finishes , one in which the scarf is not lined in order to use as little material as possible; then one lined. If you choose to line your scarf you will need to cut the rectangle of fabric twice and follow the steps below.
If you want to sew the scarf with the Prune cardigan , here are the supplies you will need:

The estimate of the quantity of fabric required is made in a width of 140 cm.
* The pockets option is only possible if you choose to sew the regular length.
² Lastin is a transparent strip (often called “laminate”) that is used to prevent stretchy clothing from deforming over the long term.
If you want to double your scarf, you will need 470 cm of fabric (in a width of 140 cm) regardless of the size or the sewn version.
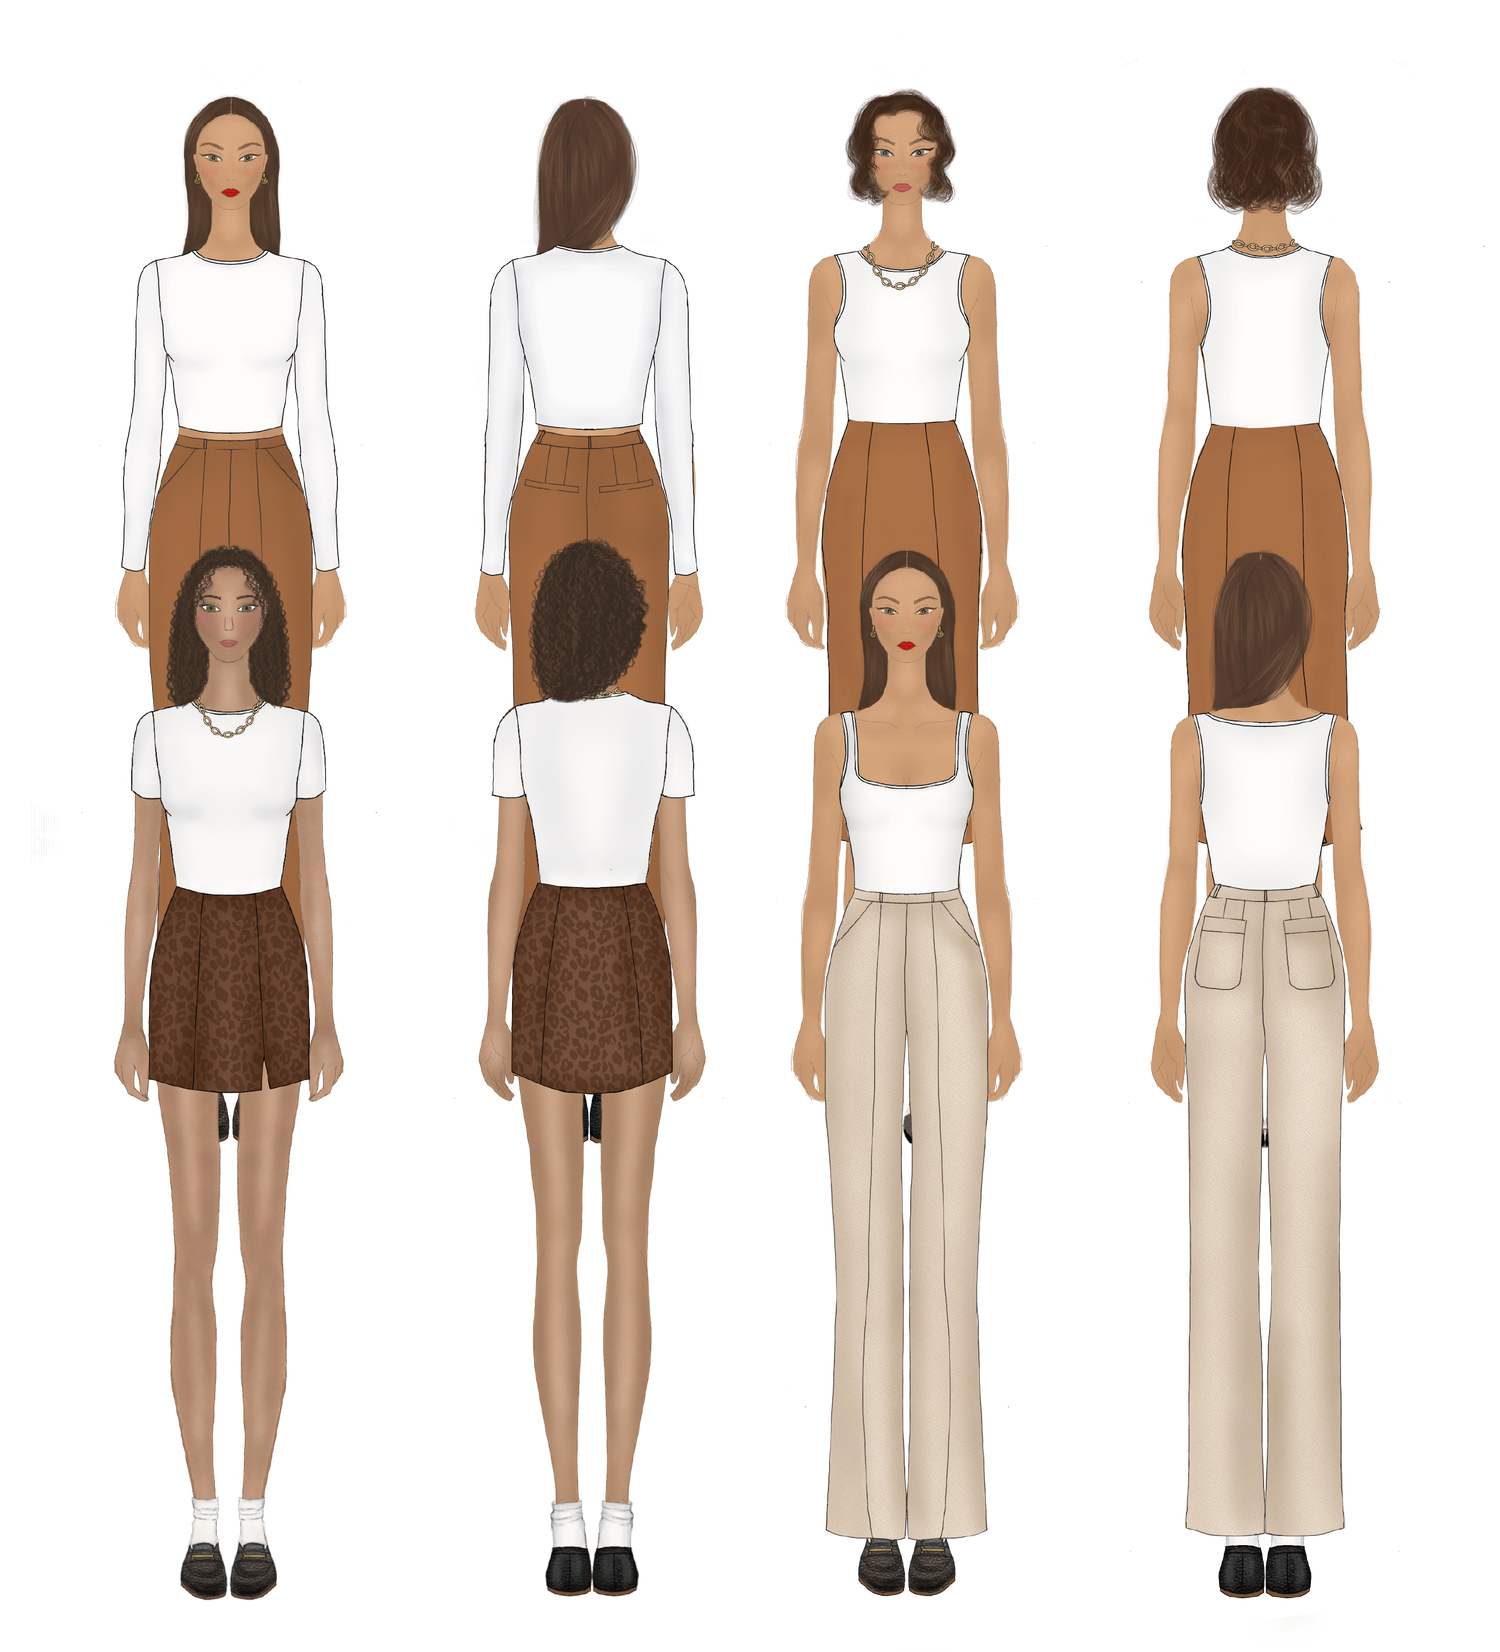
Which fabric to choose?
For this project, just like the Prune cardigan , you can use a knit or woven fabric. The important thing is that your material is flexible enough to achieve a nice drape.
To help you choose the right fabric, find below some ideas of ideal fabrics for this model:

Steps to follow
To help you as best as possible in carrying out this tutorial, you will find below the detailed steps using diagrams.

Undubbed version
Step 1: Prepare the hems
1) Using your iron, mark a first fold of 1 cm towards the wrong side then a second fold of 2 cm towards the wrong side on each side of your rectangle of fabric.
Since there is a lot of length, hold these hems with pins but do not sew just yet.

Step 2: Form the corners
2) Unfold these folds to about 15 cm in length at each corner.
You can see a square that has formed with its folds in the corner, at the intersection of these two hems. Draw a 45° line that passes diagonally through the inner corner of this square (see diagram below).
Draw a second line 1 cm from this one, then cut this line with your pair of scissors.

3) Fold this 1 cm margin towards the reverse using your iron.
Fold your hems on either side by 1 and 2 cm as you marked with the iron beforehand, then secure your entire hem with pins.

4) Sew 2mm from the edge along your hem.

Step 3: Sewing the Staple (Optional)
6) Using chalk or an erasable pen, mark the following points (see diagram) :
- one 76 cm from one of the shorter sides of the scarf
- the second 83 cm from the first
The two marks should be 1 cm from the edge of the scarf.
Sew each part of your clasp at the different marks you have drawn. Make sure that both parts are facing the right way once your scarf is worn.

Dubbed version
Step 1: Assembly
1) Right sides together, pin the two rectangles together on all sides.
Stitch all around at 1 cm, making sure to leave an opening of about 10 cm.
Using a small pair of scissors, trim the corners.
Turn your scarf right side out, making sure to bring out the corners again using a pair of small scissors.

2) Close the opening by making an invisible stitch by hand.

How to sew an invisible seam?
- Using a thread of the same color as your scarf and a sewing needle, pass the thread through the eye of the needle then stitch at the end of the opening (1 in the diagram).
- Alternate from one side to the other every 0.5 cm, taking only two or three threads on your work so that the stitch is completely invisible on the right side.
- Once the opening is sewn, finish with a backstitch by inserting the needle into the seam groove from the inside to the outside and passing the needle through the loop of the thread to tie it. Repeat this stitch two to three times.

Step 3: Sewing the Staple (Optional)
Using chalk or an erasable pen, mark the following points (see diagram) :
- one 78 cm from one of the shorter sides of the scarf
- the second 83 cm from the first
The two marks should be 1 cm from the edge of the scarf.
Sew each part of your clasp at the different marks you have drawn. Make sure that both parts are facing the right way once your scarf is worn.
 __________________________________________________________________________________
What fabric did you choose to use? Let me know in the comments!
Feel free to share your version on social media by tagging @evelynepatterns so I can see and share your creations!


1 comment
Holii