How to attach metal coat loops?
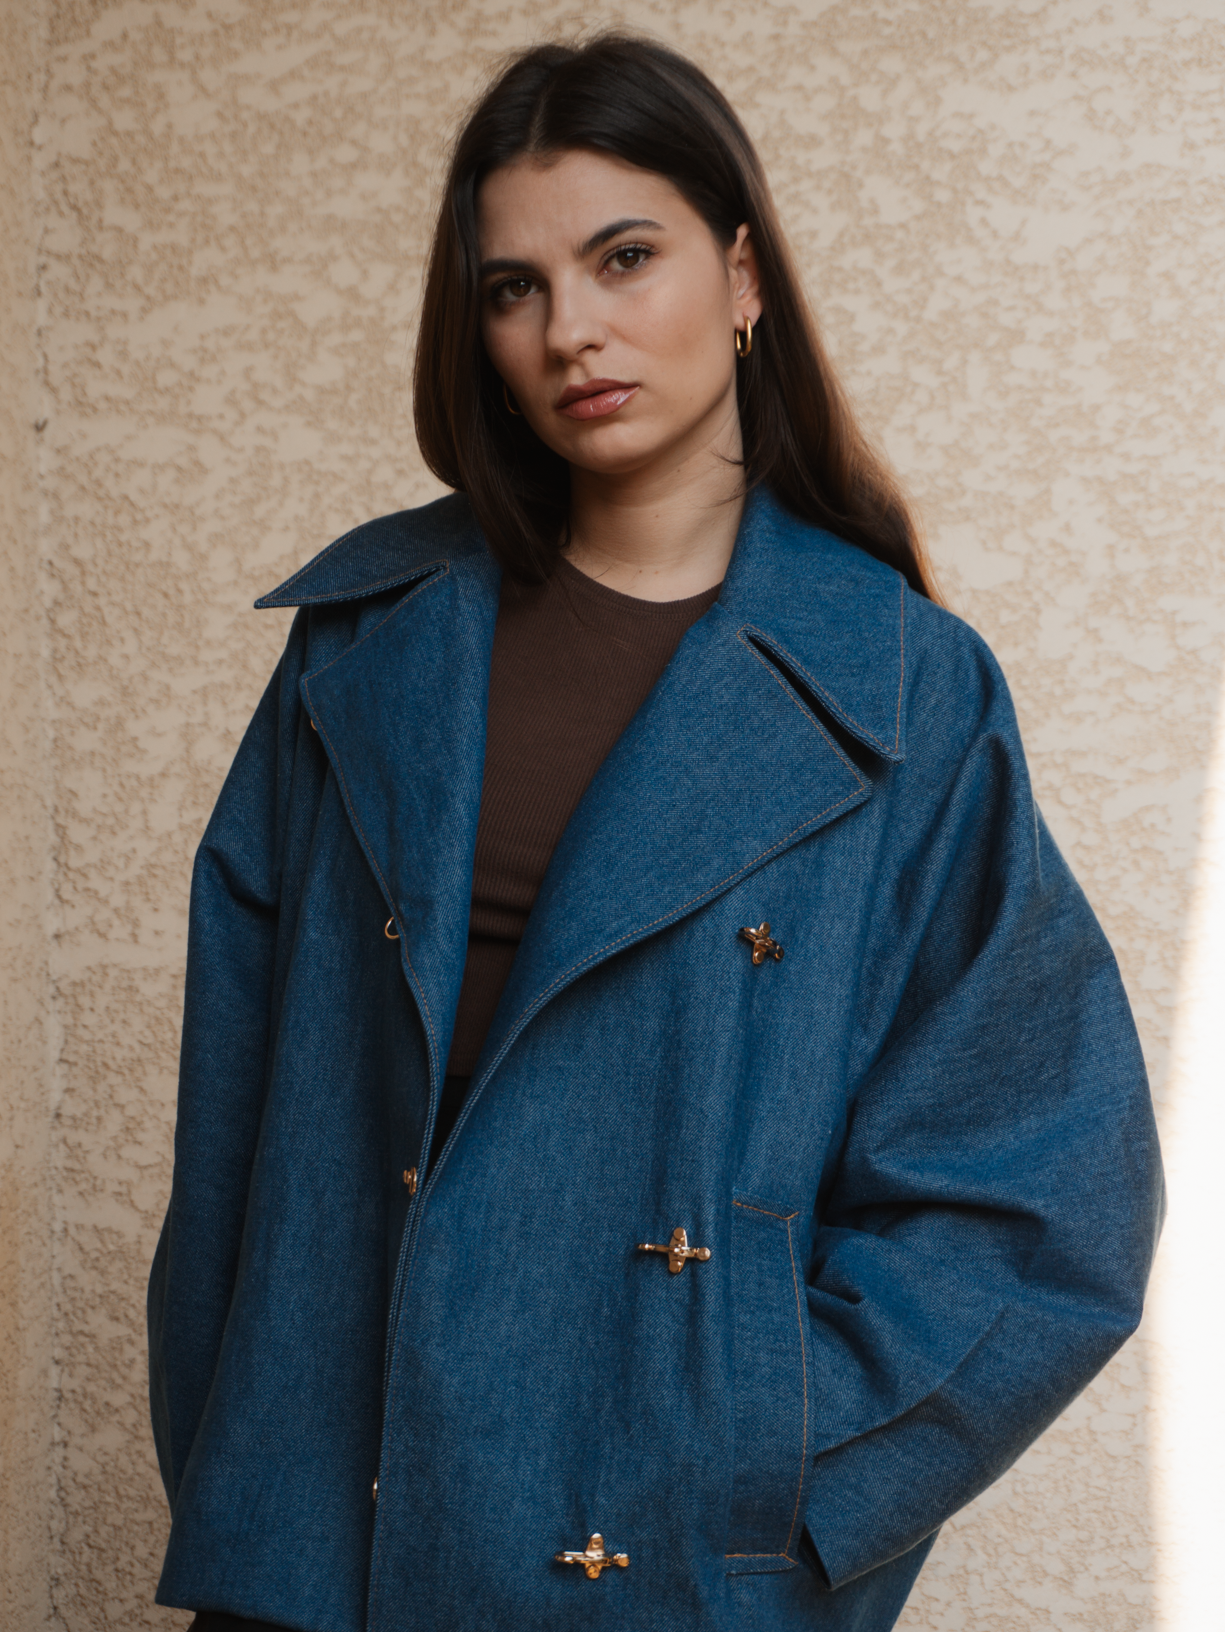
Evelyne ZimmerIn this article, I'll explain how to replace the buttons and buttonholes of the Adèle coat with beautiful metal buckles available right here.

These buckles have the advantage, beyond adding a unique touch to your coat, of being very simple to attach and avoiding the difficult step of buttonholes that often scares us due to all the layers of fabric. Nevertheless, for those who prefer the more classic button option, I'll share my tips for making buttonholes on thick fabrics with a temperamental machine!
On the Adèle coat, the buckles are attached at a different point in the assembly steps so that they are completely invisible on the inside of the garment (and therefore on the outside when the collar is open).

Here are the steps to follow:
1) Follow the classic assembly steps in the instruction booklet provided with the Adèle sewing pattern. Once step 18 is completed, pin the hem facing to the body right sides together, aligning the various assembly seams. Stitch 1 cm from the edge.
Clip the corners, then turn your coat right side out. Press carefully.
3) Topstitch the collar and fronts down to the hems, forming nice corners on the collar. At the hems, you don't need to backstitch as we'll be stitching here again at the end.
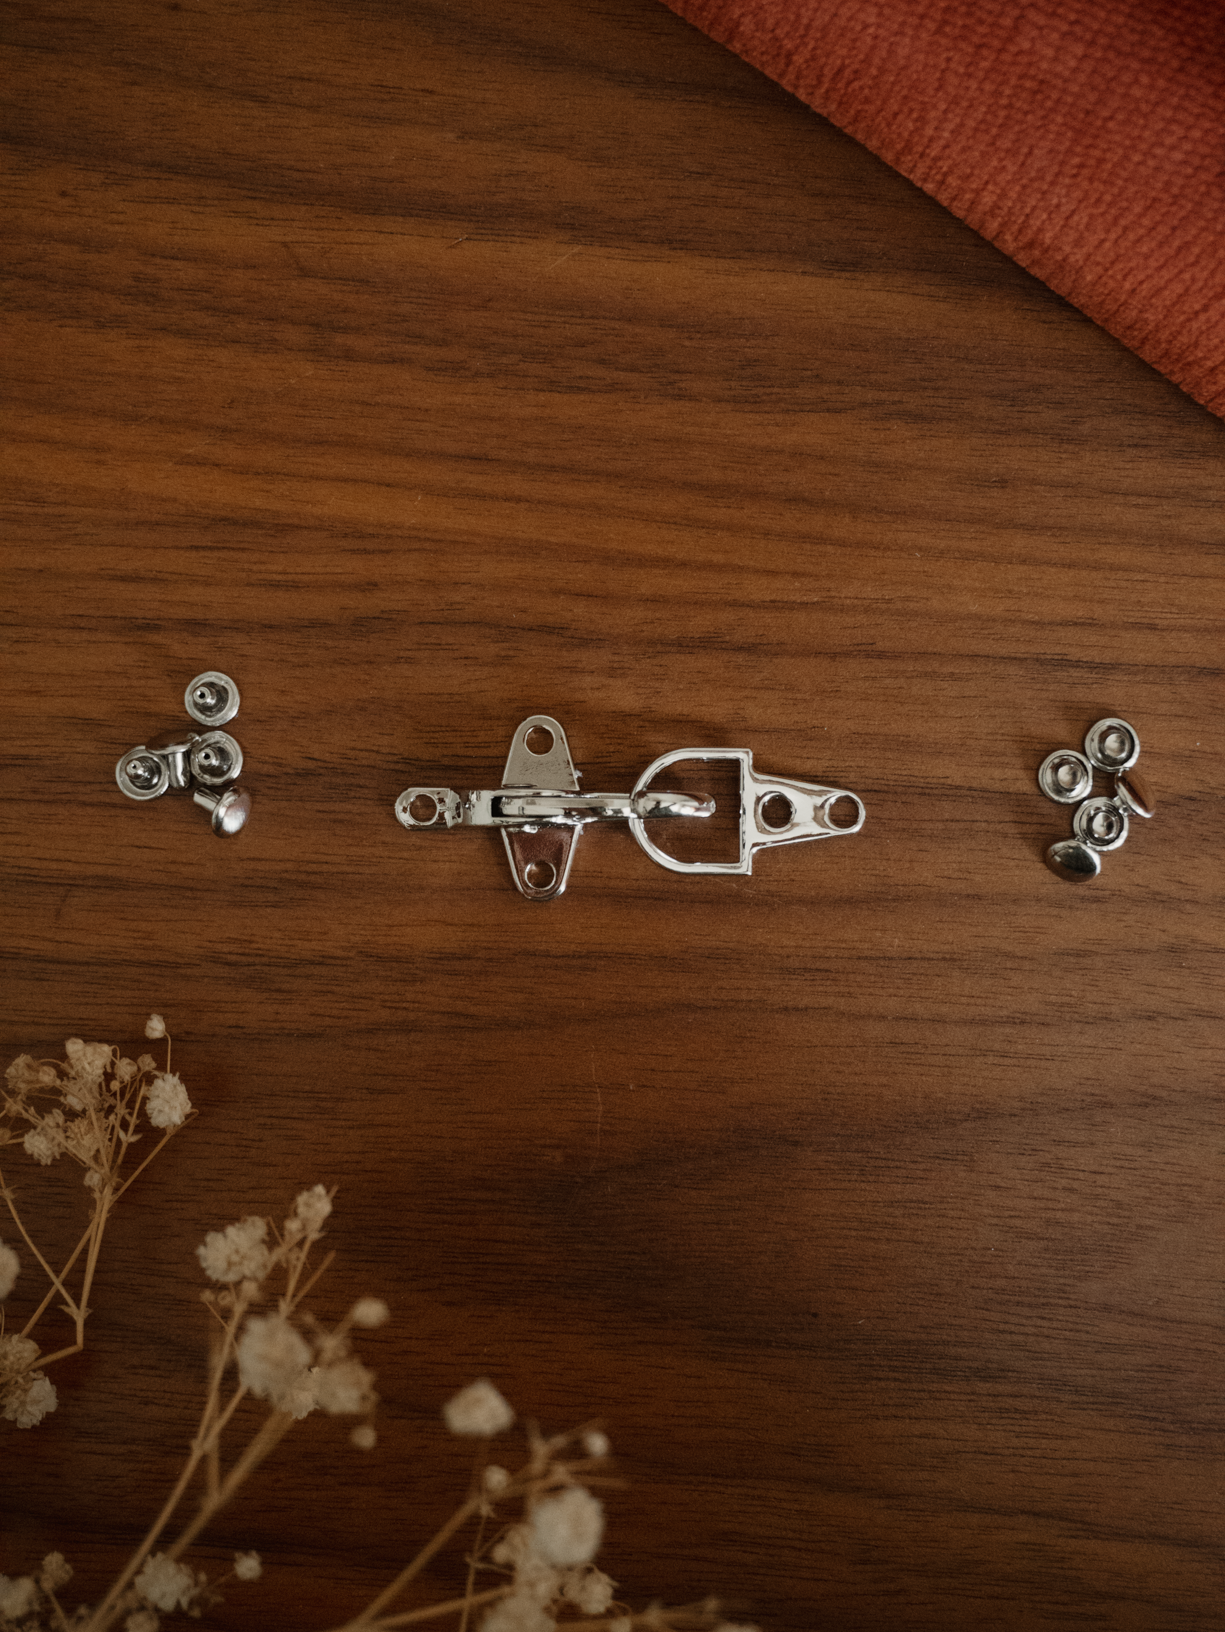
4) Attach the buckles to the main Body section (they should be BETWEEN the facing and the body so that the fastenings are invisible on the facing). To do this, start by aligning the D-ring side of the buckle, placing it at the end of the buttonhole markings. Use an awl to mark their position and hammer the fastenings in place to secure them.
5) Resume the classic sewing explained in the booklet by revisiting step 19, where you will assemble the lining to the coat. In step 23, you will only need to topstitch over the existing topstitching for approximately 2 cm at the hems.