Sewing hack: Adding a gathered peplum to the Chloé dress

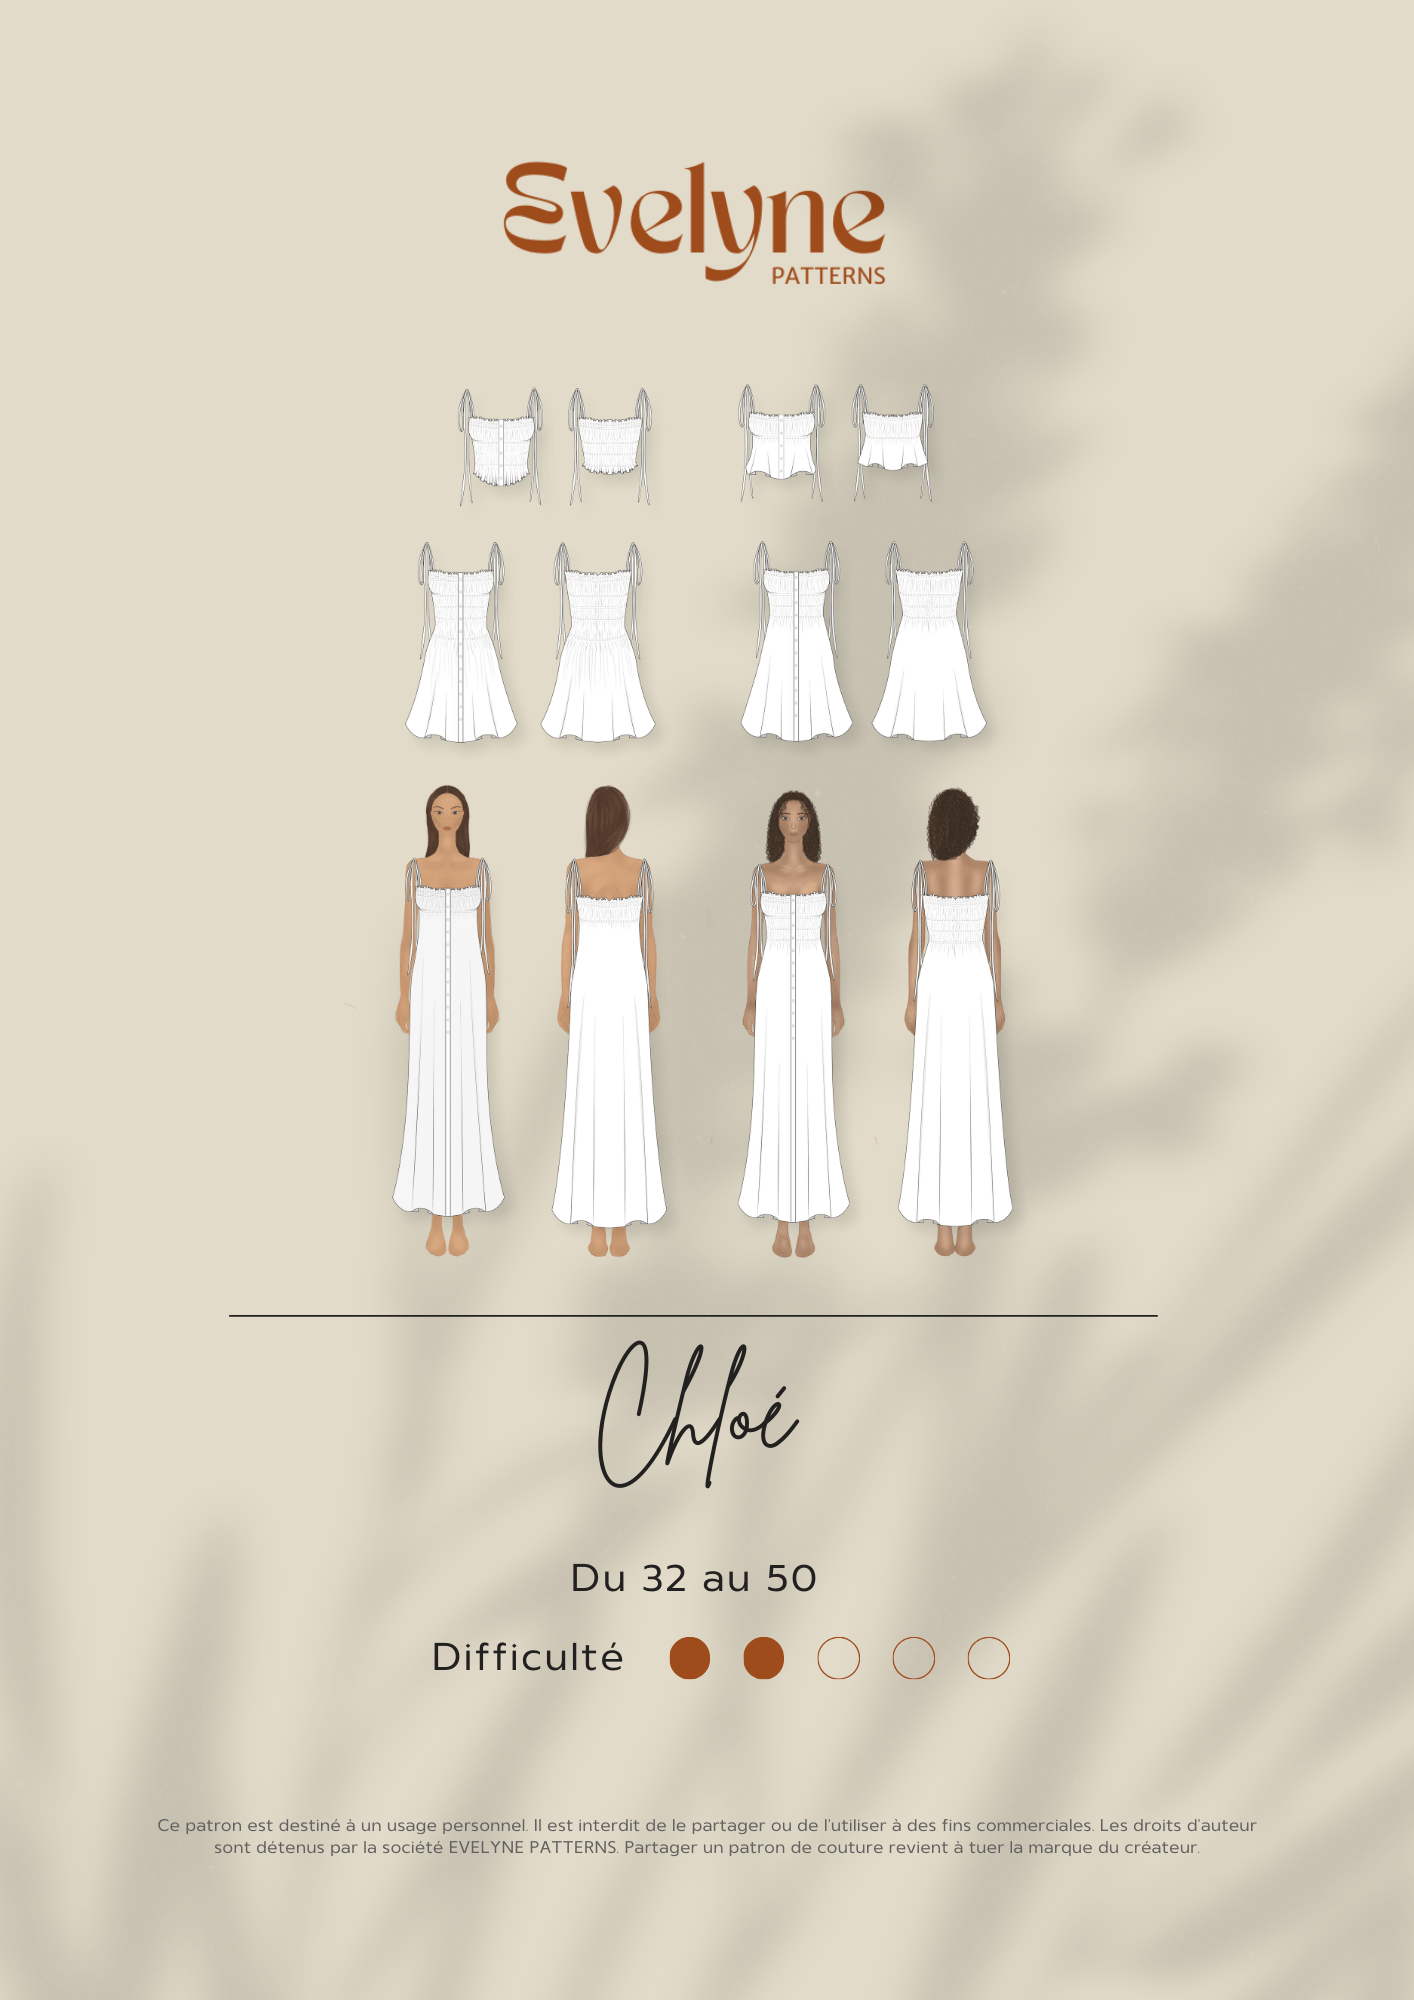
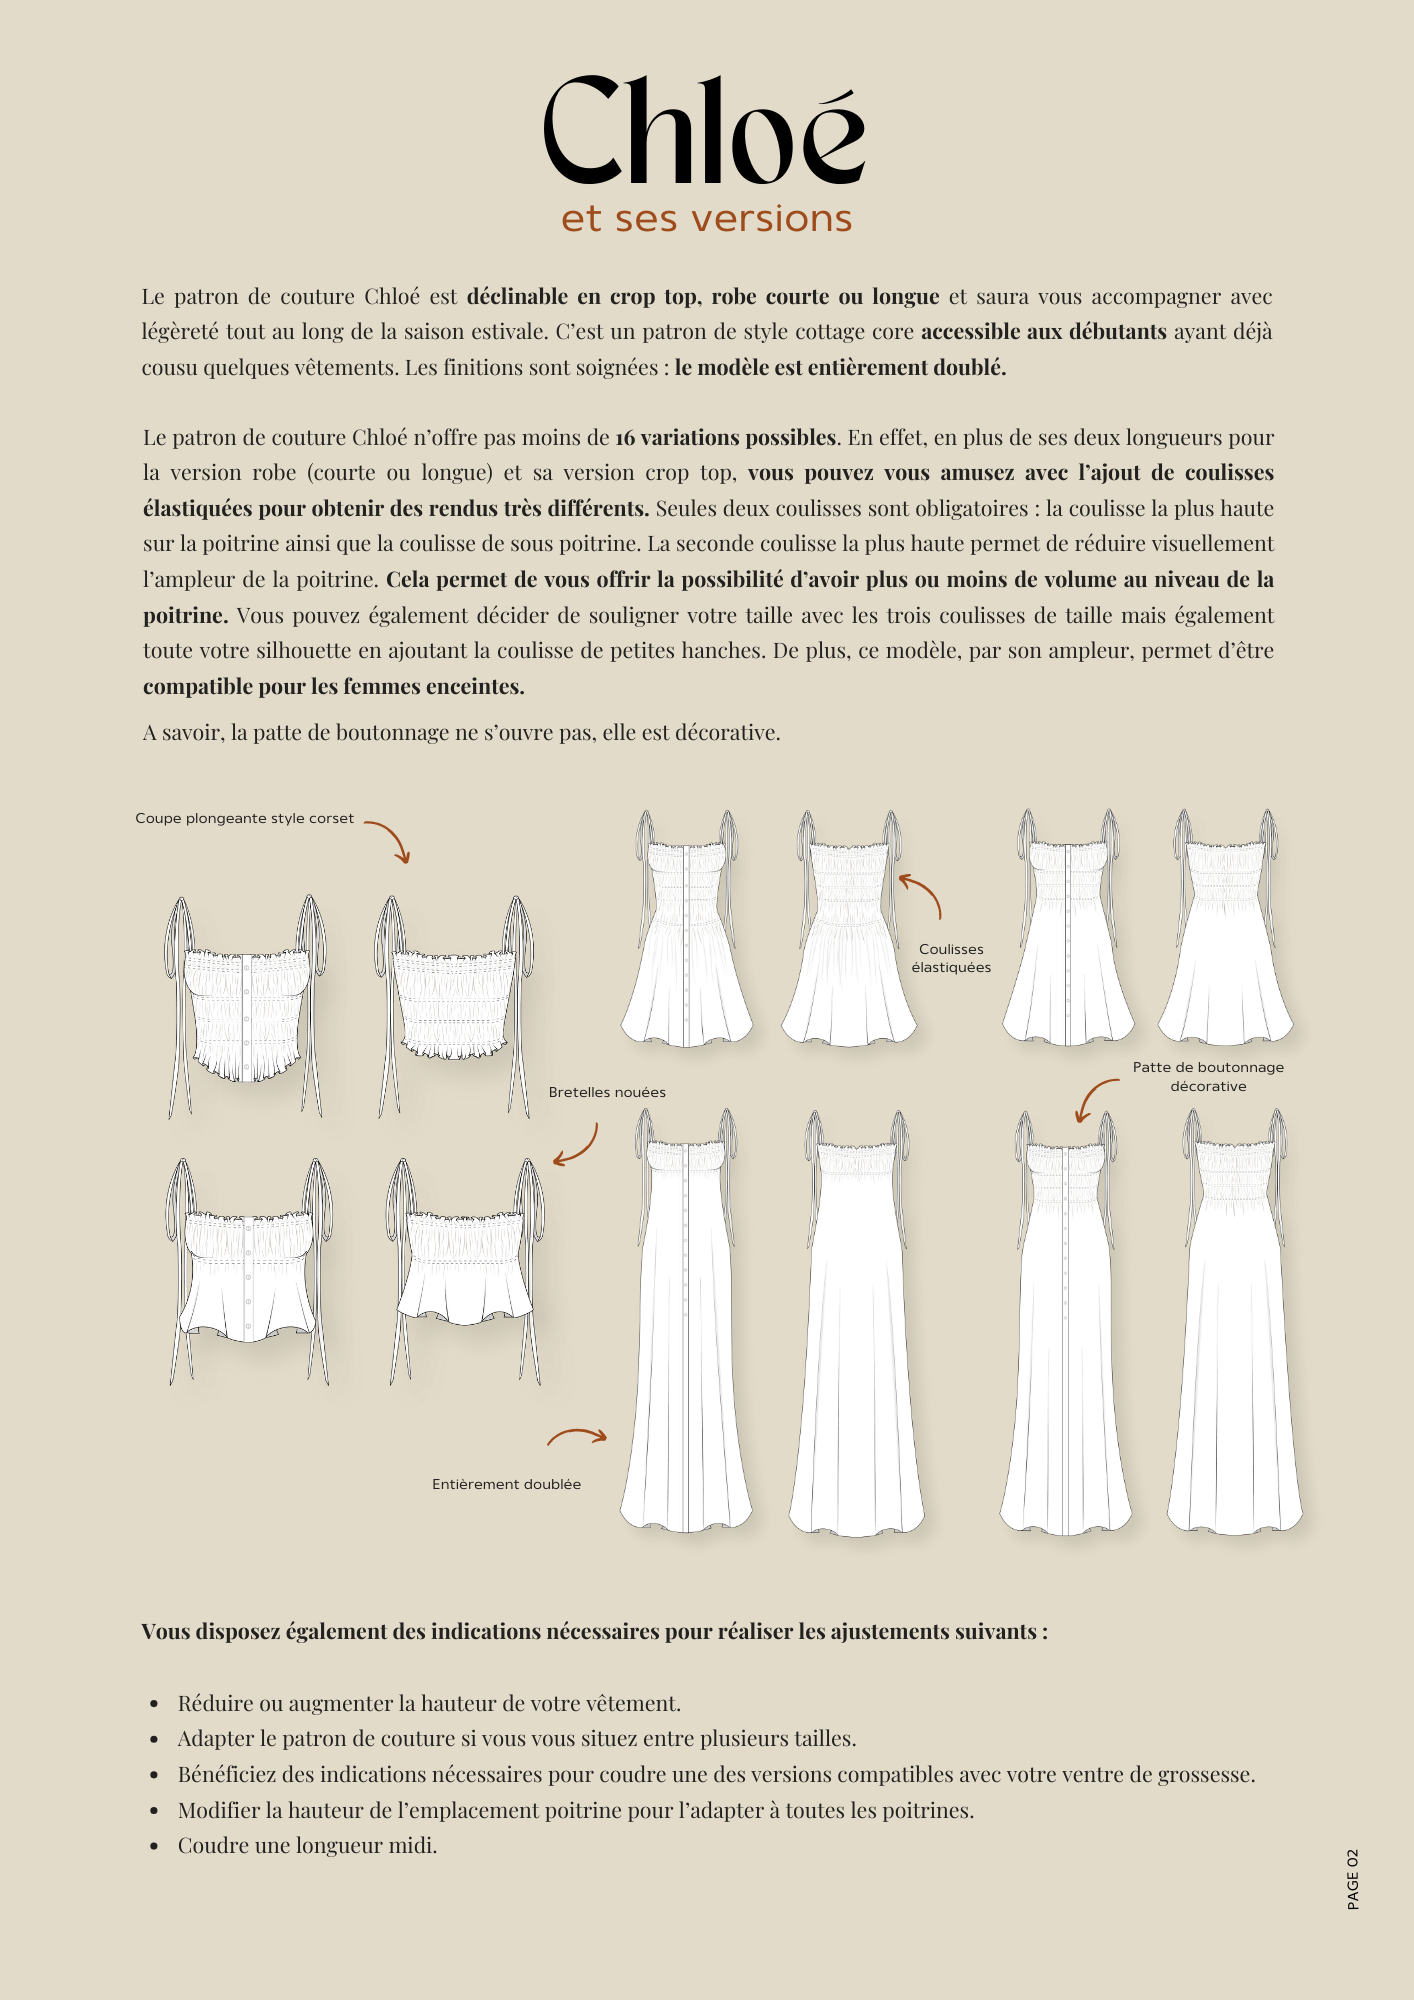
Do you love customizing your sewing patterns? In this tutorial, I show you how to transform the Chloé sewing pattern into a long or midi dress version by adding a gathered peplum.
This sewing hack is ideal for creating a more bohemian, fluid version full of movement, while keeping the base of the Chloé pattern. You will learn step-by-step how to calculate the dimensions of your peplum, prepare the gathers, assemble the new skirt, and achieve beautiful finishes.
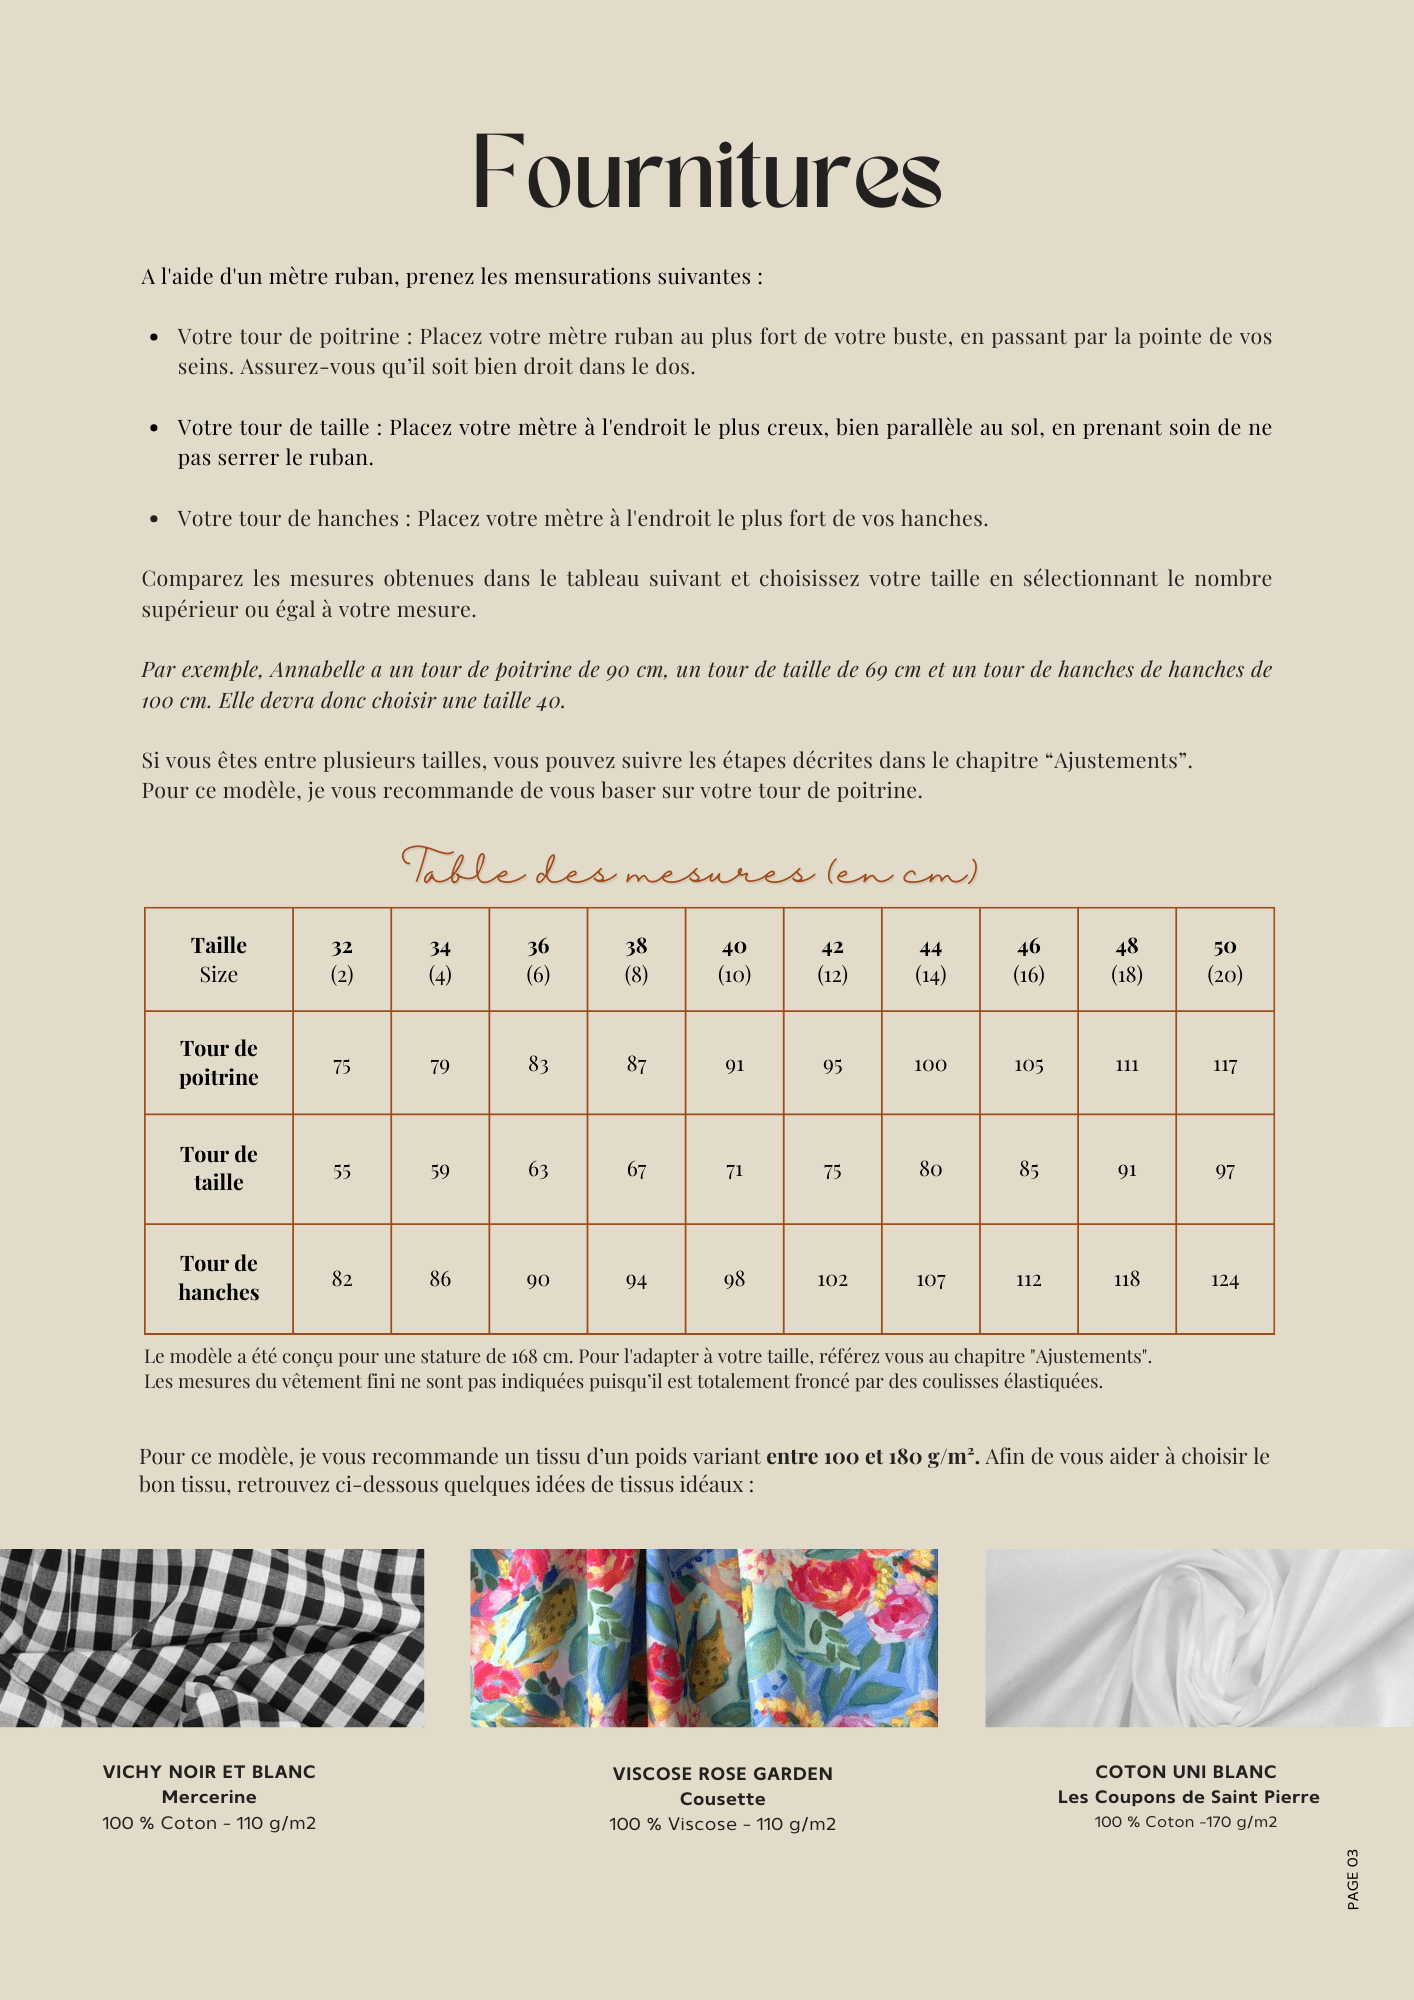
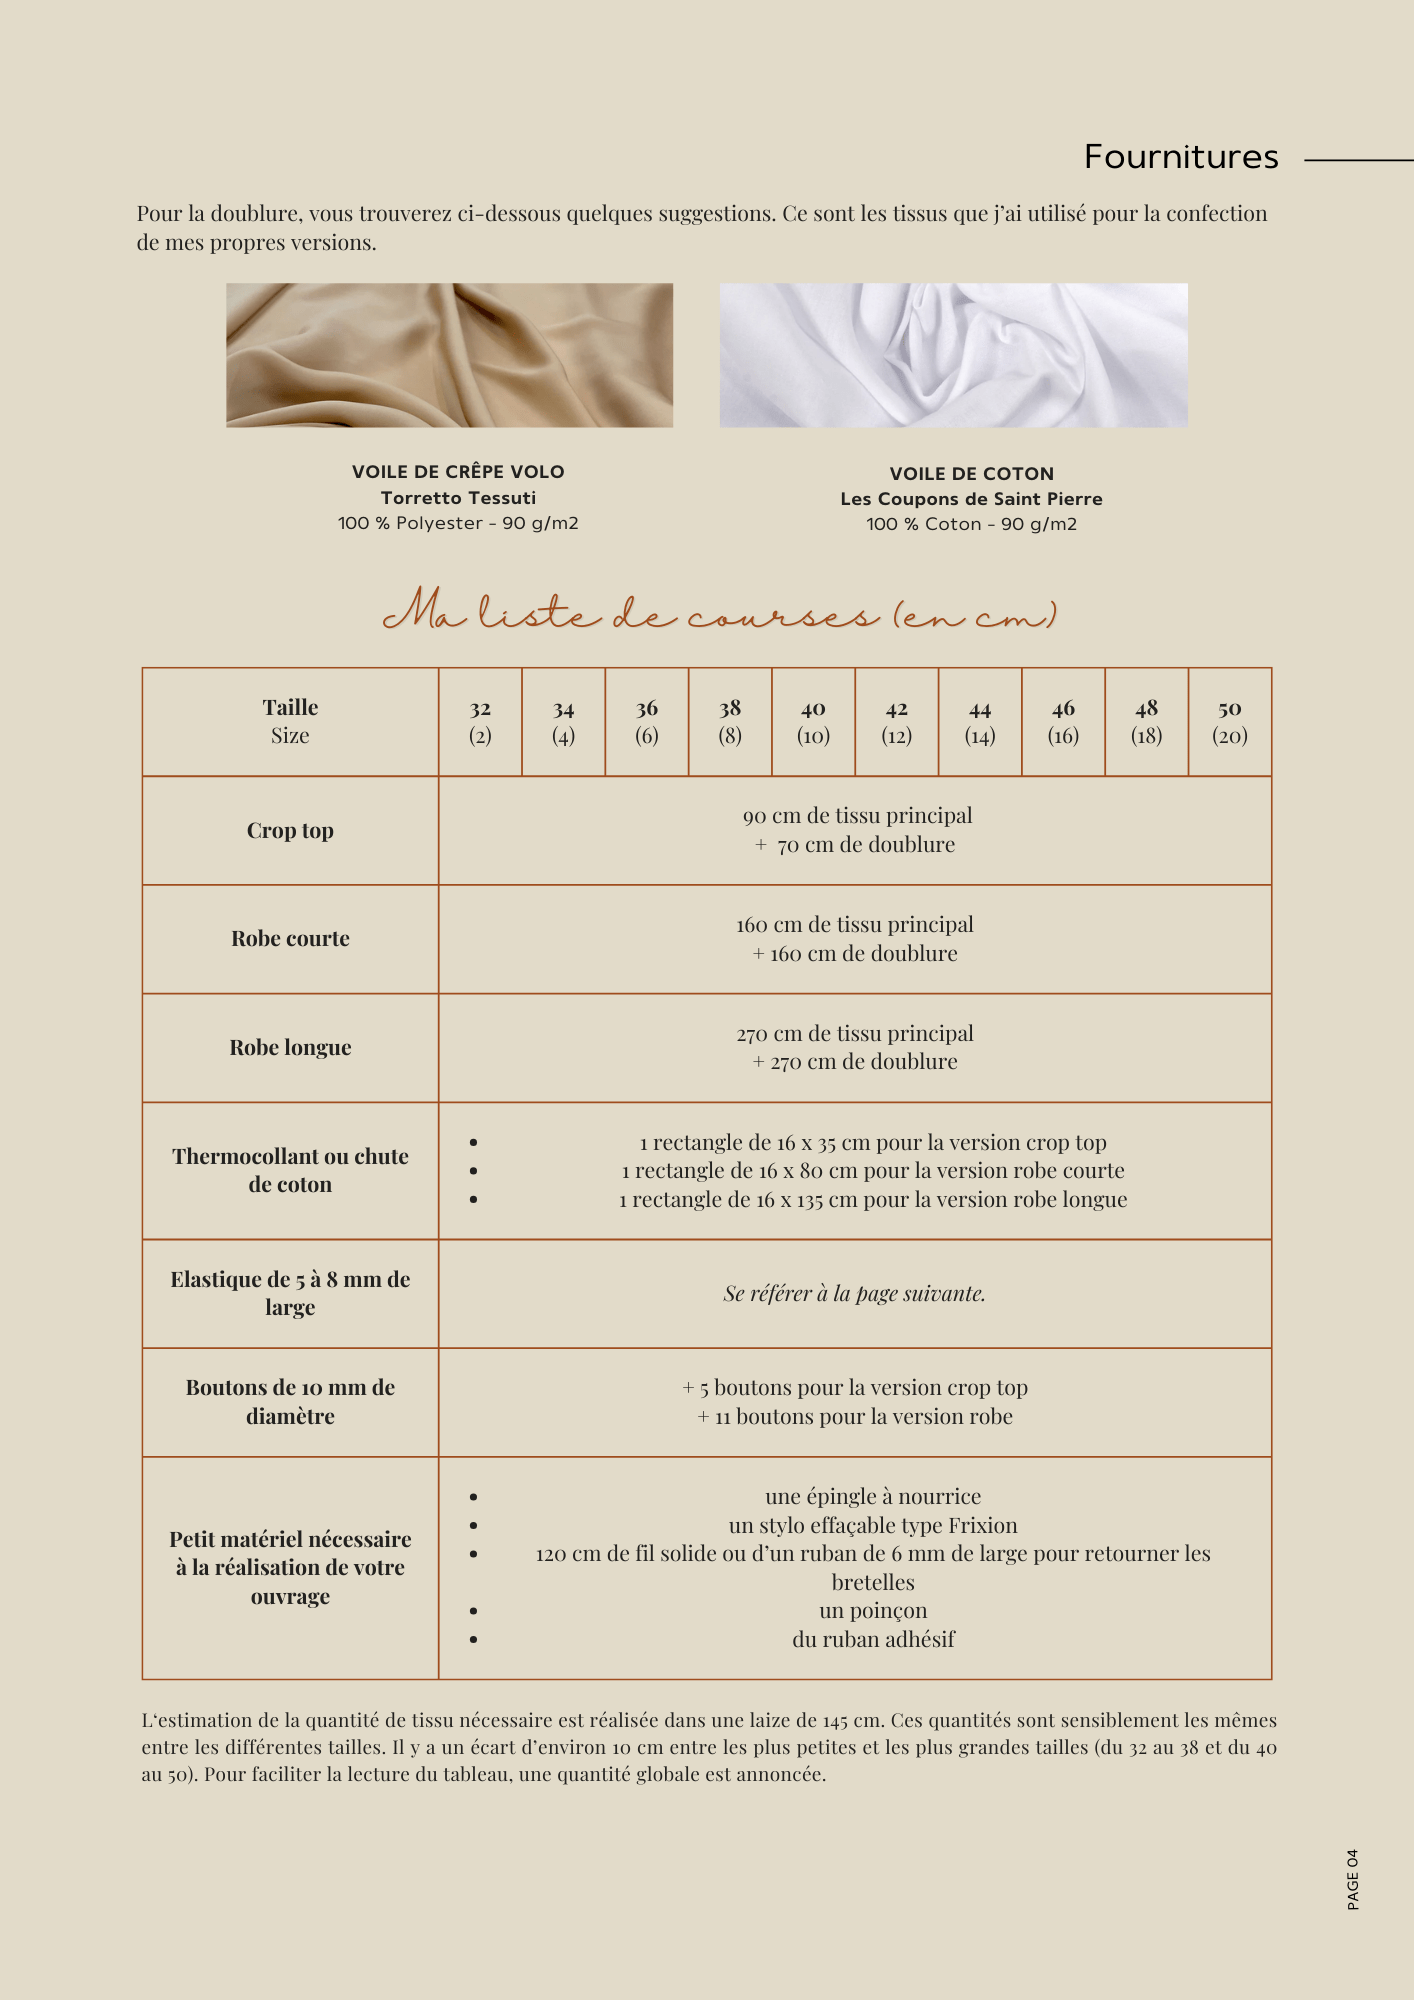
To recreate the version shown here, I first made this modification: sew the Chloé sewing pattern without the button placket (you only need to follow the Patternmaking and Cutting chapter of that tutorial; the sewing steps are included here to make sewing easier and avoid switching between tutorials).
On the agenda for this Chloé sewing hack
- Cutting the Chloé dress to the right length
- Calculating the dimensions of the gathered peplum
- Choosing a lined or unlined version
- Assembling the peplum with nice finishes
- Creating the gathers and the final hem
Cutting the Chloé dress to add a gathered peplum
1. Cut the dress to the short length
Cut the Chloé dress to the short length at a right angle at the side seams of the hems.

2. Calculate the length of the gathered peplum
To calculate the length of the new skirt, measure the bottom of the Front and Back pieces, then perform the following calculations:
- For the front: ((front x 2) x 1.8) + 3
- For the back: ((back x 2) x 1.8) + 3
This gives you the length of the rectangles to cut from your main fabric.
For the height, measure the height on your pattern between the short length and the long length, then add 2 cm.
If you wish to make a midi length rather than a long length, subtract 23 cm from the height you just calculated. The height of the midi version therefore corresponds to: (difference between the short length and the long length) + 2 cm - 23 cm.

3. Choose a lined or unlined dress
For the lining, you have two options:
- Line your dress by cutting your Front and Back pieces to the short length.
- Do not line your dress. In this case, follow this tutorial first before moving on to the rest: Step-by-step Chloé hack without lining tutorial.
Assembling the Chloé dress with a gathered peplum
The sewing steps remain unchanged until step 9 of the booklet.
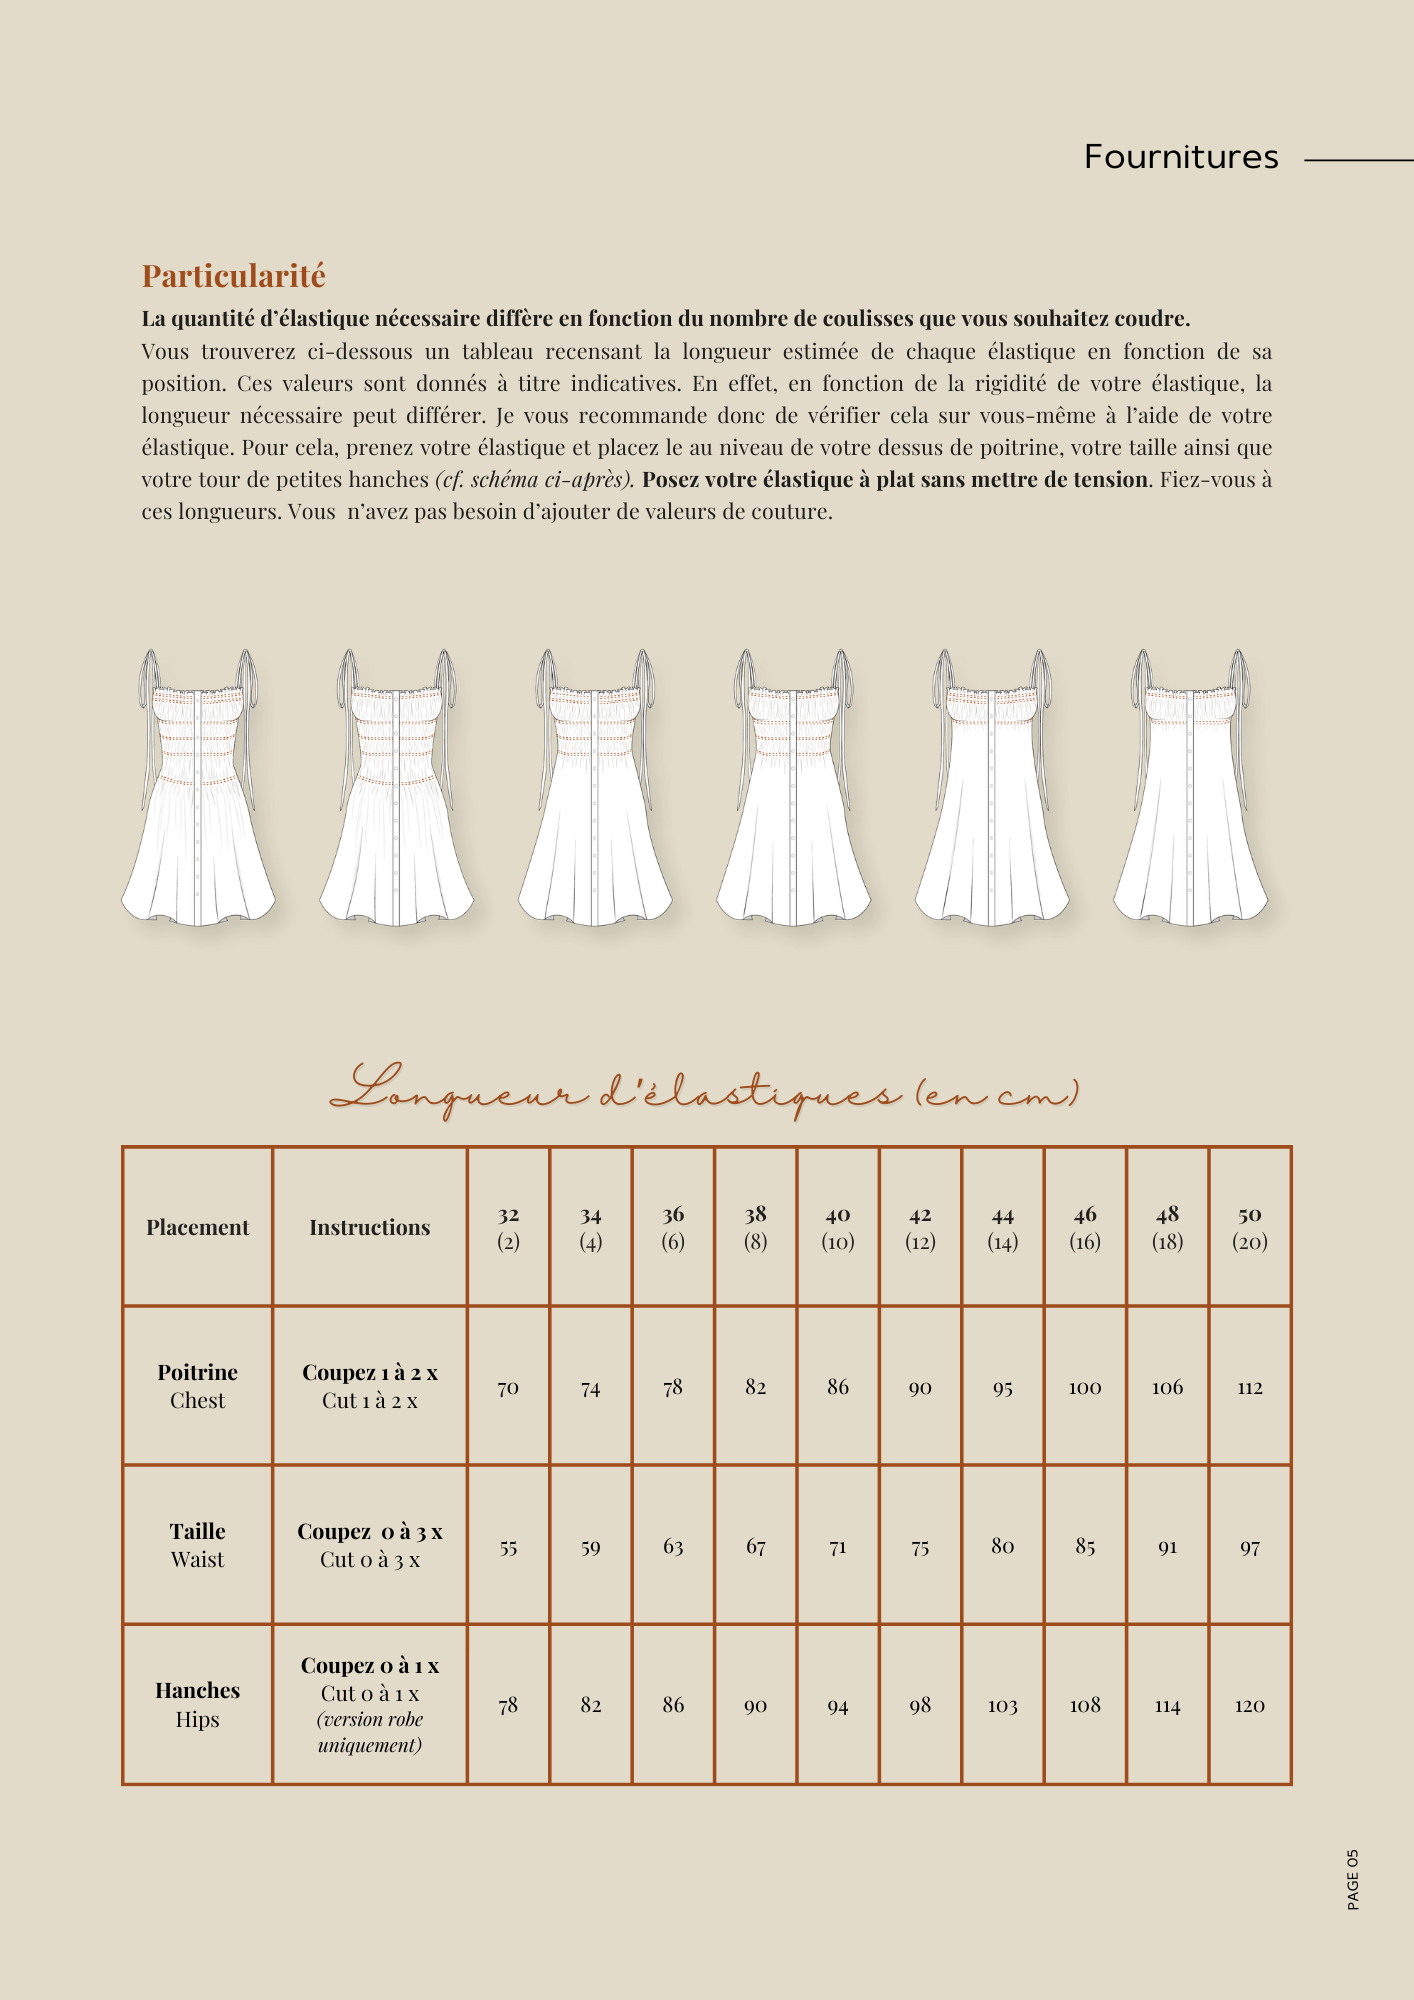
Modify the elastic casings
Step 9) Sew each casing all the way around your garment, making sure to leave a space of about 3 cm for each. This will allow you to pass the elastic inside each casing later.
Make sure all these openings are aligned to make passing the elastic easier.

Note: for the version I made in the photo at the top of the article, I did not follow the casing placement provided in the pattern. I made six 1 cm casings, all spaced 2 cm apart, as shown in the diagram below.

Step 10) Do not perform it.
Step 11) Refer to the booklet.
Pass the elastic through the casings
Step 12) Place a safety pin at the end of your elastic, then wrap it with a piece of adhesive tape. This will prevent the pin from opening once inside the casing.
Starting with the highest casing, pass your safety pin through your casing, making sure the end of the elastic (the one opposite the pin) does not enter the casing.
You will likely encounter a bit more difficulty on one of the sides, where your safety pin will nestle into your seam allowances. At this specific spot, I recommend pressing the joining seam with your fingers to allow your pin to pass through the middle properly.
Between passing each casing, sew the ends of the elastic together using a zigzag stitch. Go back and forth several times to secure the seam firmly.
Make sure your elastic is not twisted inside its casing before sewing it.

Once all the elastics are passed and sewn, you can close the openings you left earlier.
Step 13) Steps 13 to 25 of the booklet are not necessary for this sewing hack since we have removed the button placket. But we aren't finished for this version! Now, follow the steps below.
Assembling the gathered peplum
1. Assemble the front and back rectangles
We are now going to assemble the front and back rectangles at the sides. To have beautiful finishes, use French seams: wrong sides together, pin the front and back rectangles at the side seams. Stitch at 0.5 cm.
Trim the seam allowance to 2 mm from the edge, then turn your peplum right side out.
Right sides together, stitch 1 cm from the edge. Press the seam allowances towards the back.

2. Mark the peplum reference points
Mark a point at the center front and center back of your peplum, as well as at the bottom of your dress. This will make pinning easier in the next step.

3. Prepare the gathers
For this step, I recommend using a thread color that contrasts with your fabric and working in two stages: first on the front, then on the back. This makes it easier to distribute the gathers and prevents having to redo everything if your thread breaks.
Lengthen your sewing machine stitch and increase the tension to the maximum. Make a first stitch at 0.5 cm from the raw edge all around your peplum, leaving about 30 cm of thread at the beginning and end of your seam, without backstitching.
Repeat this operation, this time stitching at 1.5 cm from the raw edge.
Then reset your sewing machine's tension and stitch length.

4. Assemble the peplum to the bottom of the dress
Right sides together, pin your peplum to the bottom of your dress. Be sure to distribute the gathers evenly.
Stitch 1 cm from the edge, with the gathers facing you so you can adjust them if necessary while sewing.
Remove the gathering threads.

5. Sew the dress hem
Using your iron, press two 1 cm folds towards the wrong side at the hem of your dress.
Stitch all the way around at 8 mm.
For a prettier result, I recommend lengthening your sewing machine stitch to 3.5 mm.

If you chose to line your dress, repeat this step with your lining hem.
Your Chloé dress with a gathered peplum is finished
You're done! You have just transformed the Chloé pattern into a long or midi version with a lovely gathered peplum. This variation adds a lot of movement to the dress and helps create a more bohemian silhouette, perfect for summer or sunny days.
Don't hesitate to share your version on Instagram with #LeteDeChloe so I can reshare it.
Frequently asked questions about this Chloé sewing hack
Can this sewing hack be done in a midi version?
Yes. To obtain a midi length, subtract 23 cm from the height calculated between the short length and the long length, while keeping the 2 cm added previously.
Is it mandatory to line the Chloé dress?
No. You can line your dress by cutting the Front and Back pieces to the short length, or make an unlined version by following the dedicated tutorial before assembling the peplum.
What fabric to choose for a gathered peplum?
For a nice drape, favor a supple and fluid fabric like viscose, tencel, light cotton, soft washed linen, or fine poplin. Fabrics that are too thick risk creating too much volume at the gathers.
Is this sewing hack accessible to beginners?
This tutorial is recommended for seamstresses who have already sewn a garment or have already made the Chloé pattern. The main steps to master are gathers, elastic casings, French seams, and assembling a peplum.
Can the casings provided in the original pattern be kept?
Yes, you can keep the positioning provided in the pattern. For the version presented in this tutorial, six 1 cm casings spaced 2 cm apart were made to obtain a more pronounced look. But you can clearly have fun with this point! Do what inspires you 😊
Discover the Chloé sewing pattern
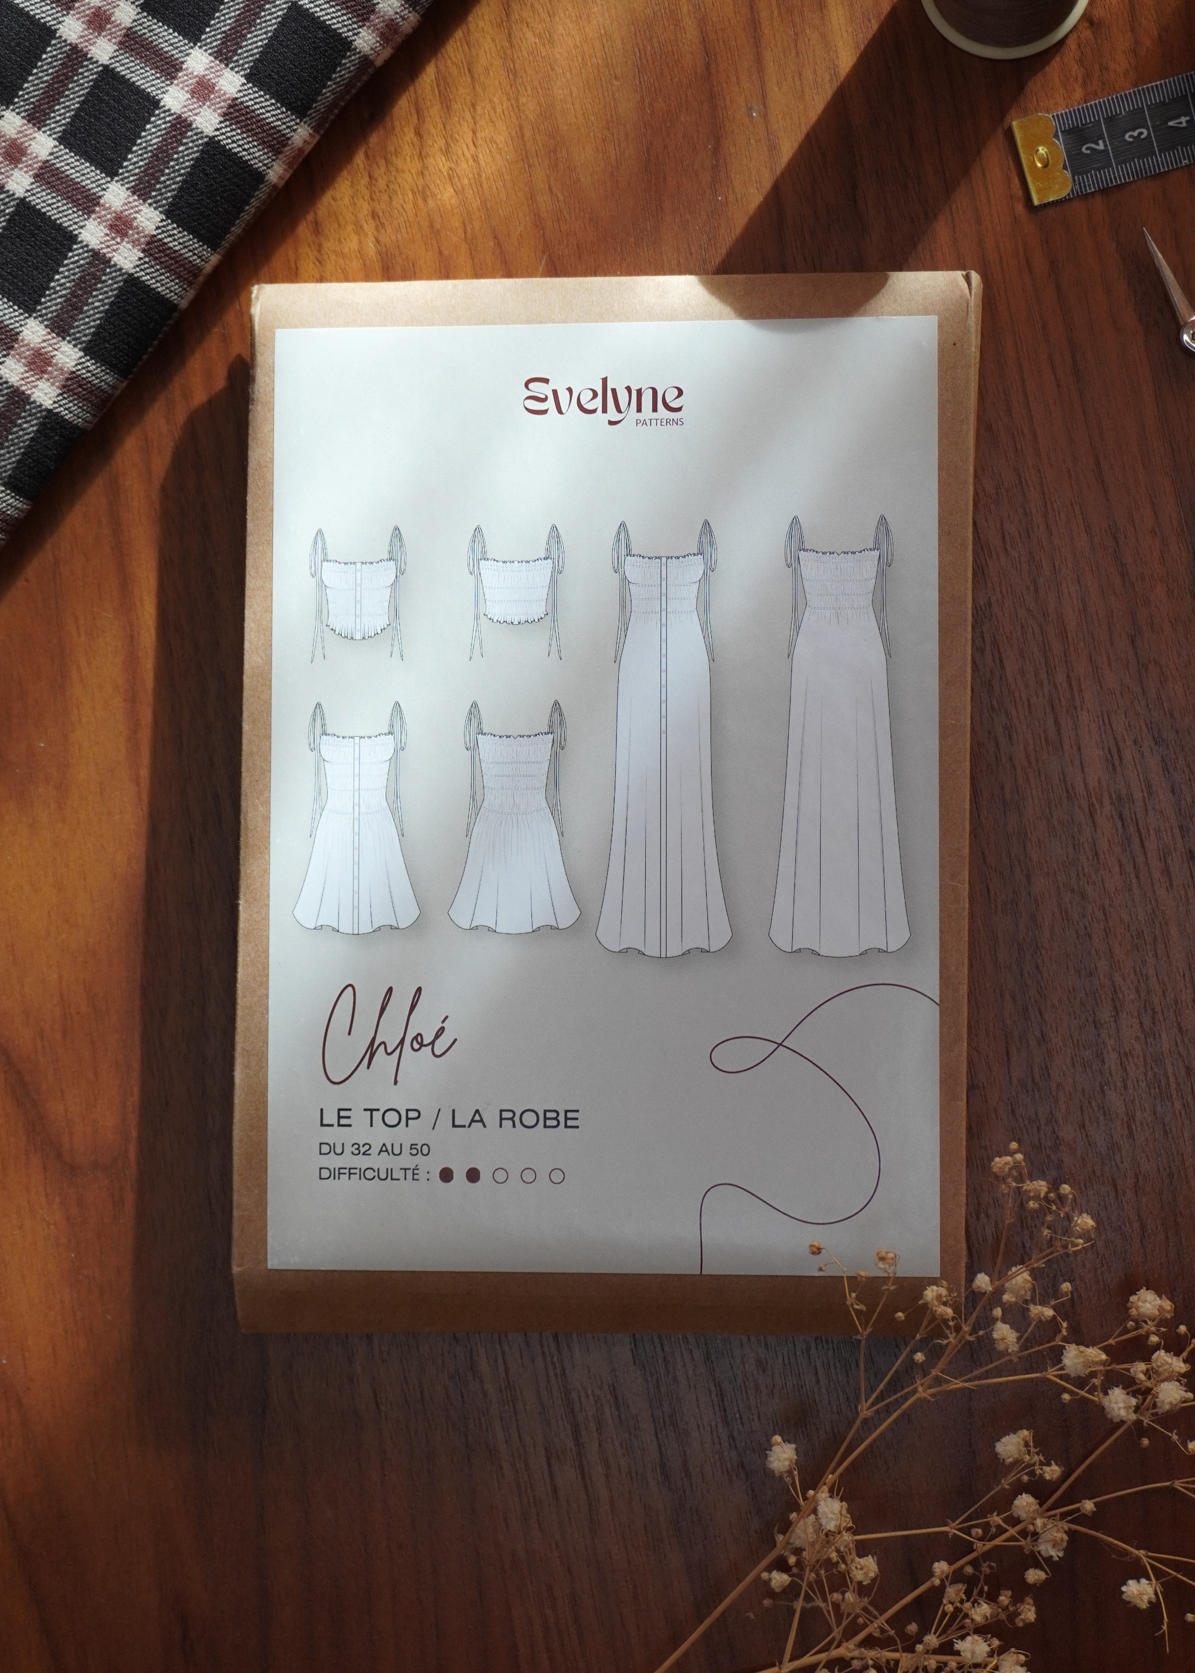
Did you like this sewing hack? Discover the original version of the Chloé pattern and its variations to imagine even more versions: short dress, long dress, corset-effect top version...
Discover the Chloé sewing pattern

Discover all Chloé pattern hacks
Want to customize your dress even more? Find all the tutorials, sewing hacks, and inspirations centered around the Chloé pattern.