Sewing tutorial: How to sew adjustable straps
Do you want to learn how to sew adjustable straps for a dress, top, or jumpsuit? In this step-by-step sewing tutorial, I explain how to make adjustable straps using rings and sliders to achieve a clean, professional finish.
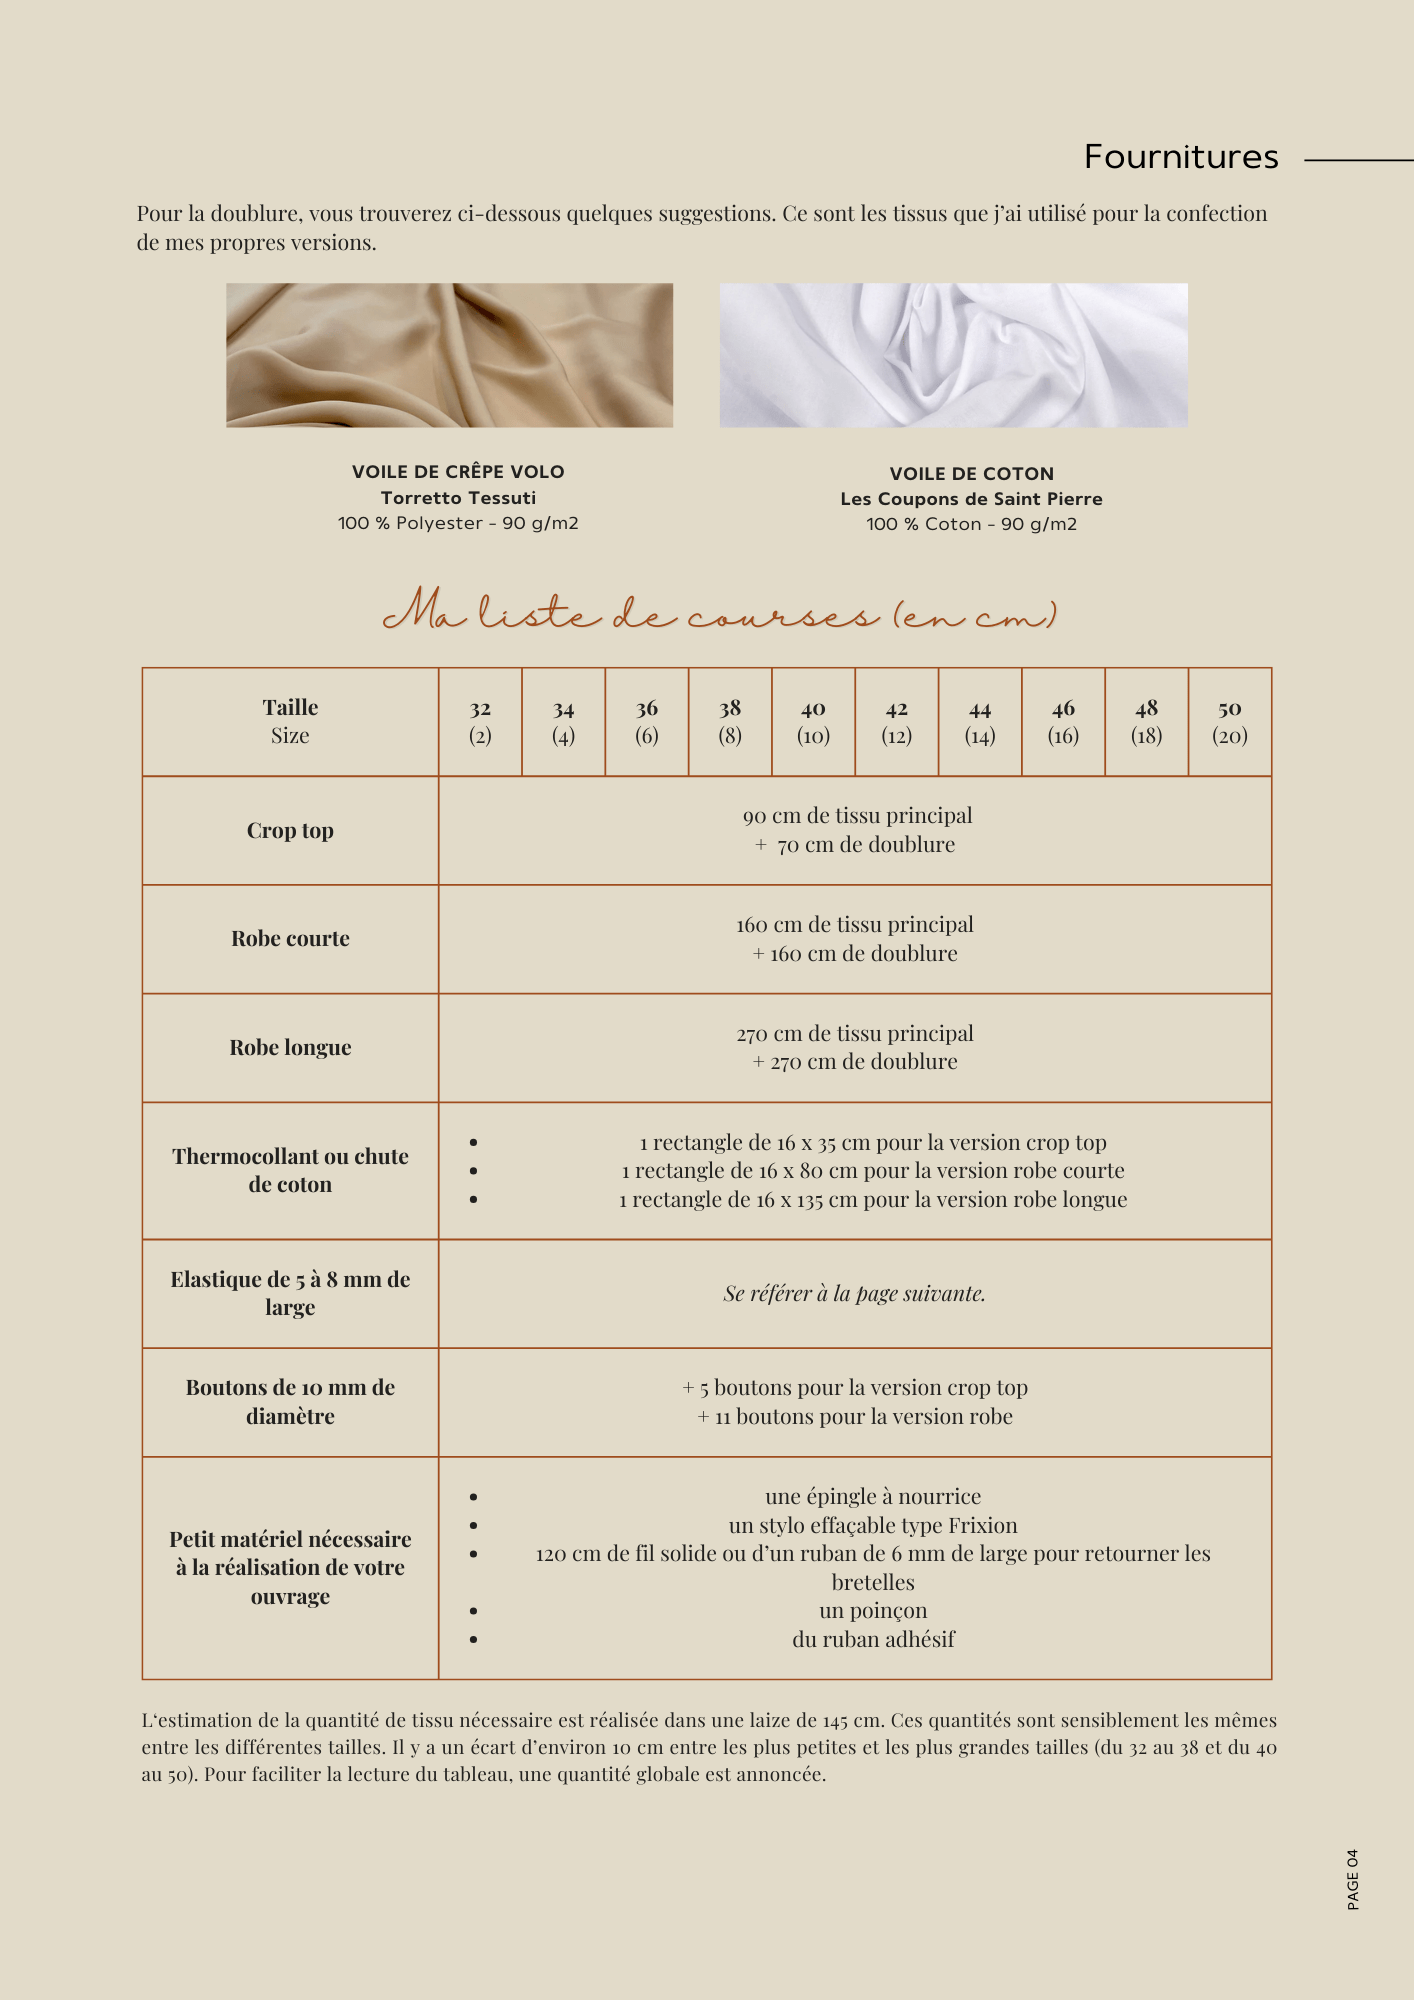
To follow this tutorial, you will need an adjustable strap kit, which includes the rings and sliders needed for assembly.

Materials needed to sew adjustable straps
- Your main fabric
- A pair of sliders
- A pair of rings
- Matching thread
- A safety pin or a loop turner
- An iron
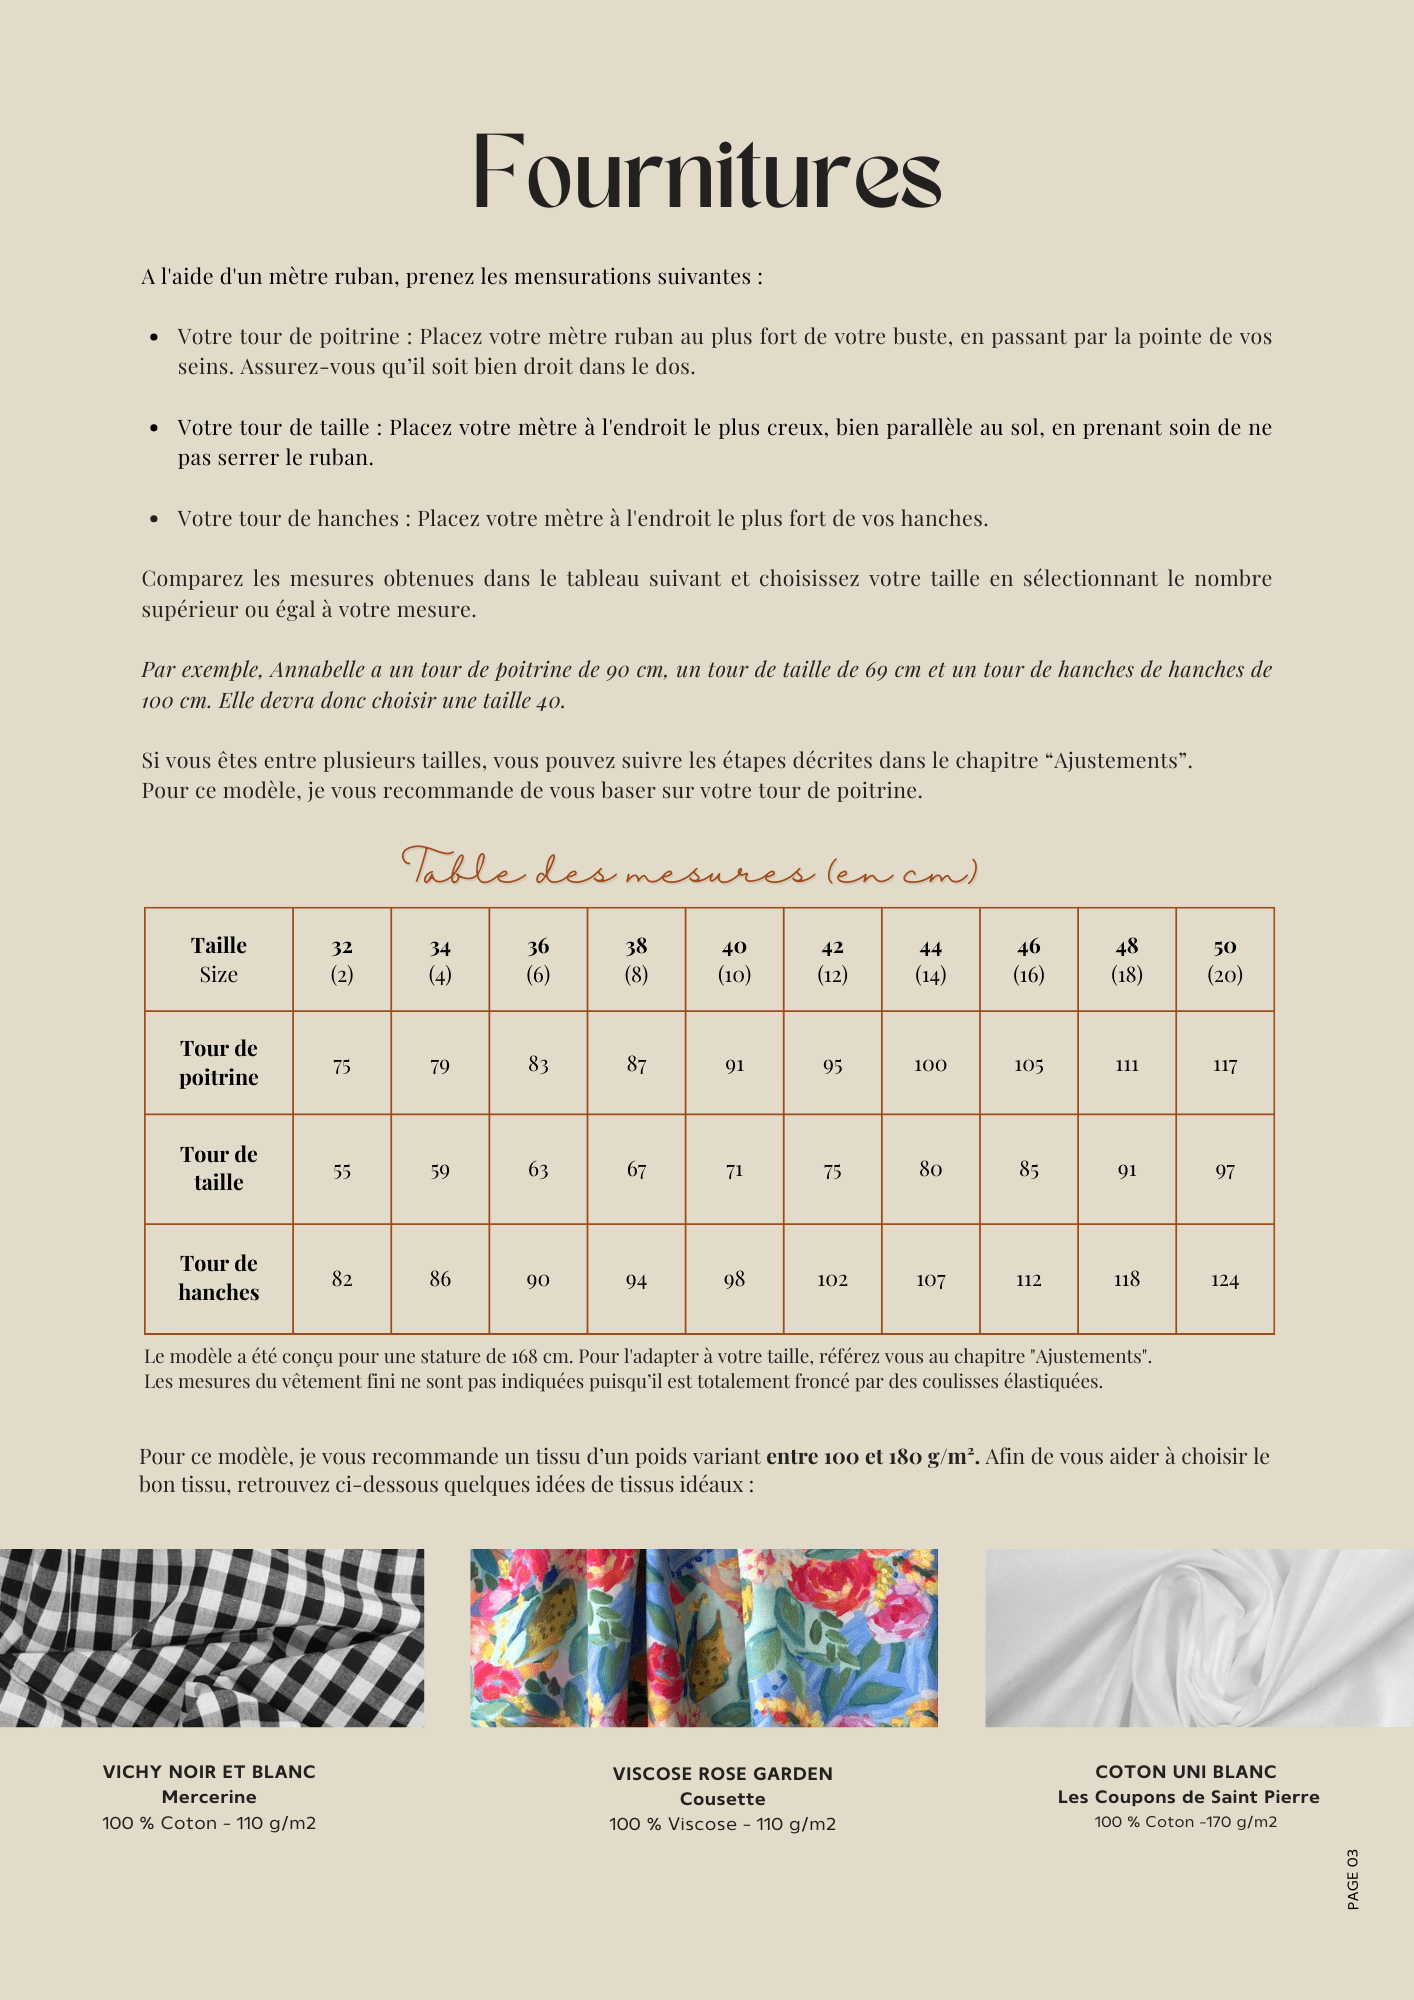
Be sure to choose rings and sliders with a width that matches your finished straps (1 cm here)
Cutting the straps
Cut two rectangles 50 cm long by 4 cm wide from your main fabric.

Assembling the adjustable straps
I recommend preparing the adjustable straps before you begin sewing your garment. They will then be ready to attach when you reach the corresponding step in the instruction booklet.
Step 1: sew and turn the straps
Place each fabric strip right sides together, then pin along the entire length.
Stitch 1 cm from the edge. Then, trim the seam allowance to about 5 mm.
Turn the straps right side out using a loop turner. You can also use a safety pin if you don't have one.
Press the straps carefully to flatten them well.


Step 2: cut the different parts
Recut the two straps to obtain:
- two pieces 46 cm long, which will form the adjustable straps;
- two pieces 4 cm long, which will be used to attach the rings to the garment.

Step 3: thread the straps through the sliders
Thread one end of each long strap through a slider, following the direction shown in the photo below.

Step 4: secure the sliders
Fold the end of each strap onto the wrong side, then sew it as close to the slider as possible using a short, tight zigzag stitch.
You can use a zigzag stitch about 2 mm wide and 1 mm long. Then, trim the excess fabric.

Step 5: install the rings
Pass the free end of each strap through a ring, then feed it back into the slider.
The strap should slide easily through the slider so that its length can be adjusted once the garment is worn.


Step 6: prepare the ring tabs
Fold each of the small 4 cm pieces in half, then press the fold with an iron.
Slide a ring inside each small tab. The unfinished ends will then be inserted and sewn into the garment.


Sewing the straps onto the garment
Your adjustable straps are now ready. You can sew them onto your dress, top, or jumpsuit by following the instructions in your sewing pattern.
Before making the final seam, check that both sliders are facing the same direction and that the straps slide correctly.
Frequently asked questions about adjustable straps
What width should I choose for the rings and sliders?
The inner width of the accessories must match the finished width of your straps. Accessories that are too wide might slip, while accessories that are too narrow will prevent the fabric from sliding correctly.
Can these straps be made from any fabric?
Yes, provided the fabric is not too thick. Fine cotton, viscose, satin, or lightweight crepe work particularly well. For very fluid fabric, you can reinforce the strips with lightweight interfacing.
Which garments can use adjustable straps?
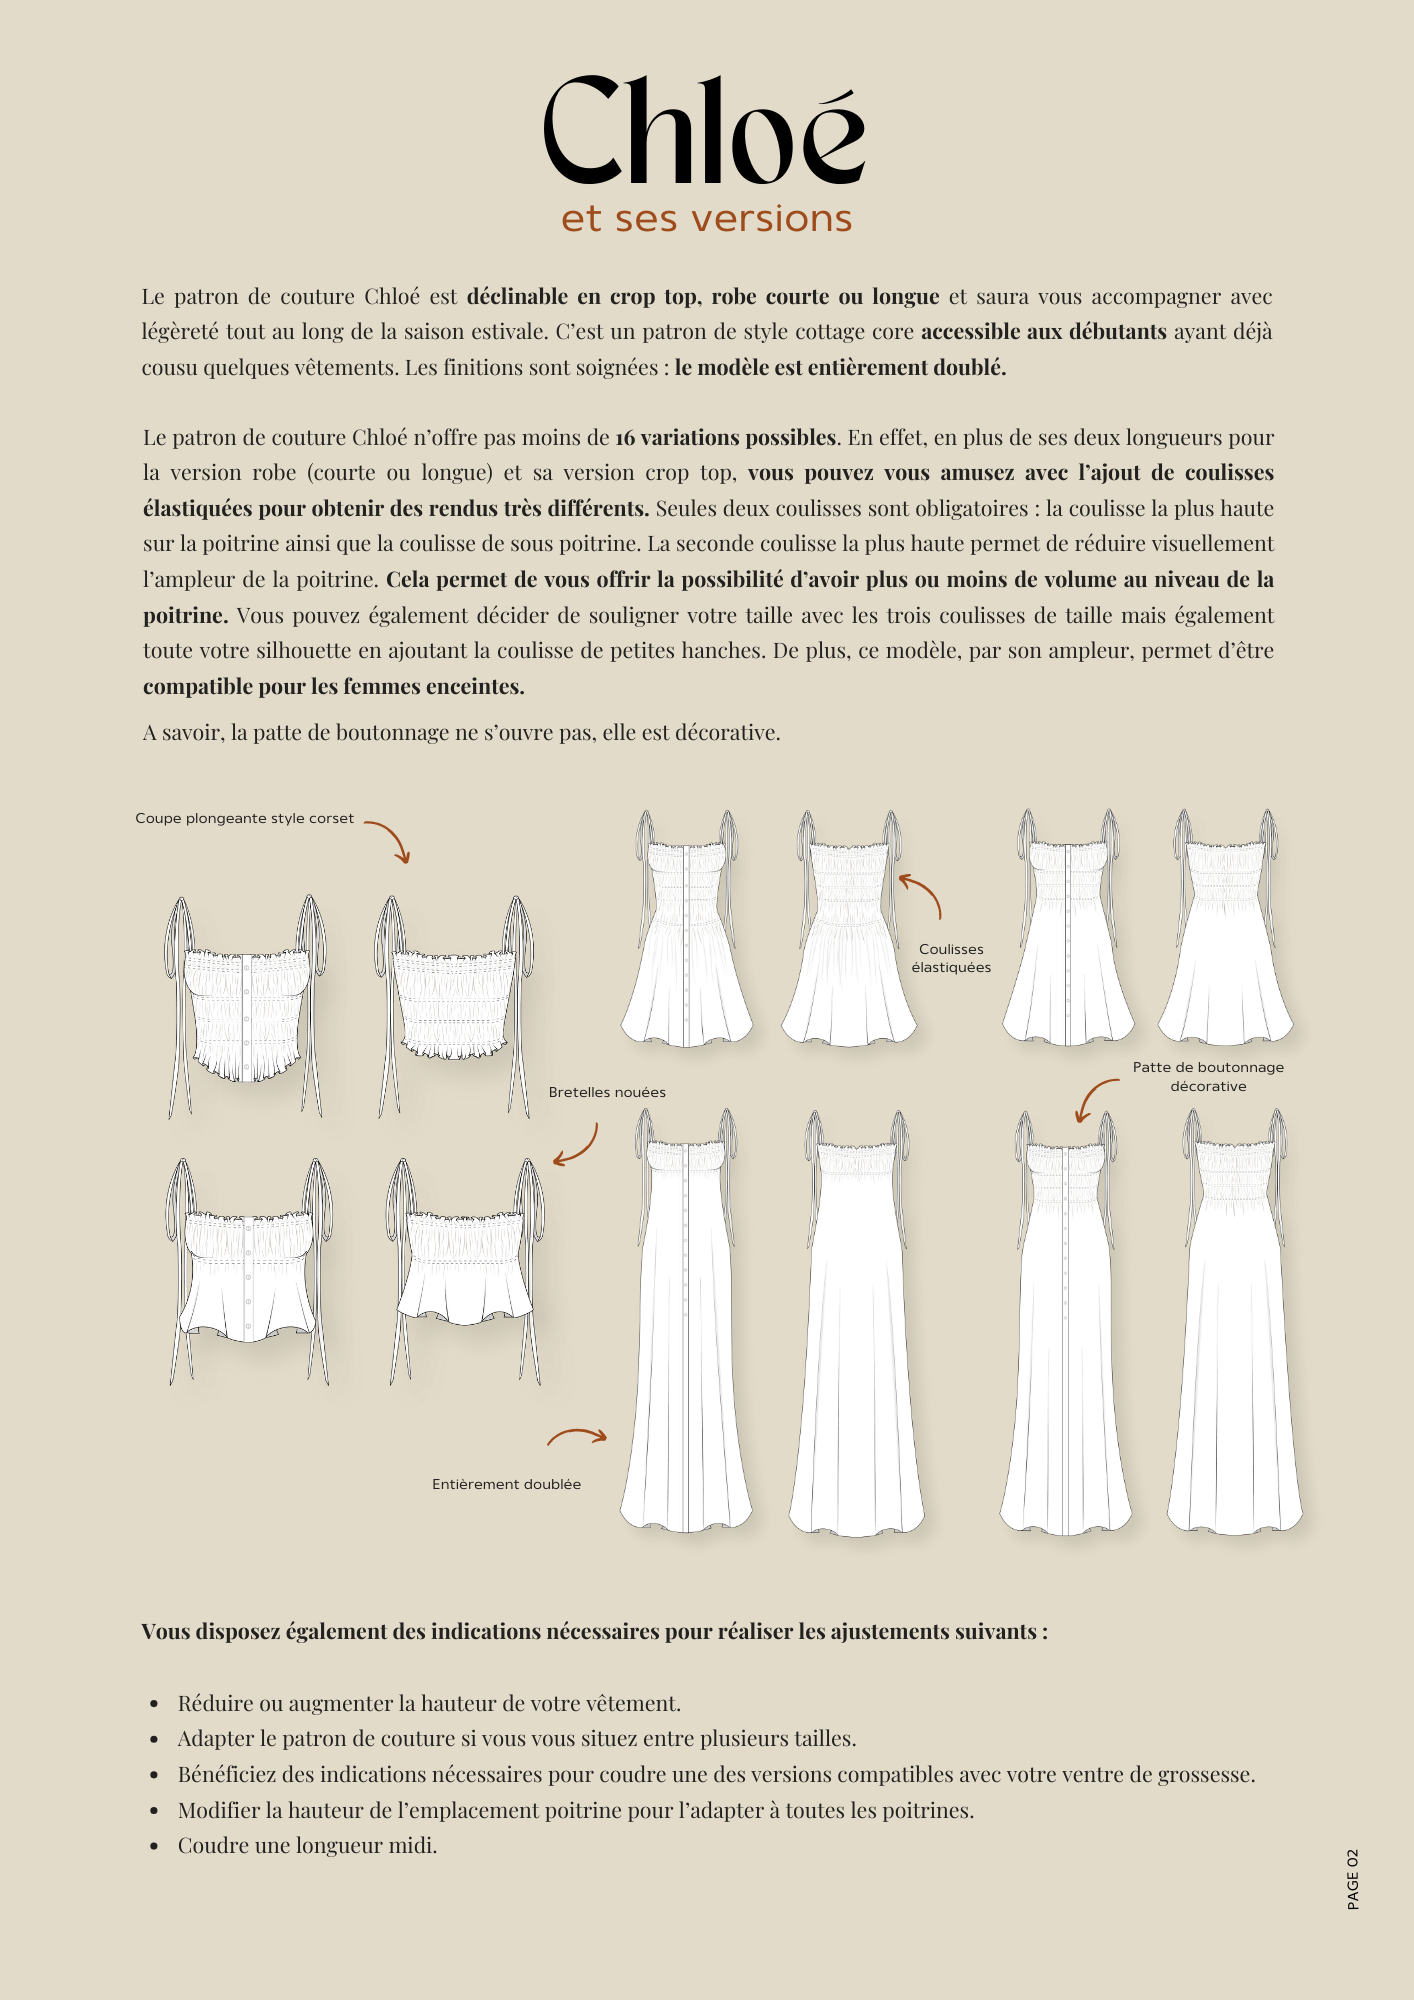
This construction is particularly suitable for summer dresses, camisoles, tops, jumpsuits, and nightgowns. It can also be used to replace fixed or tie straps on an existing pattern.
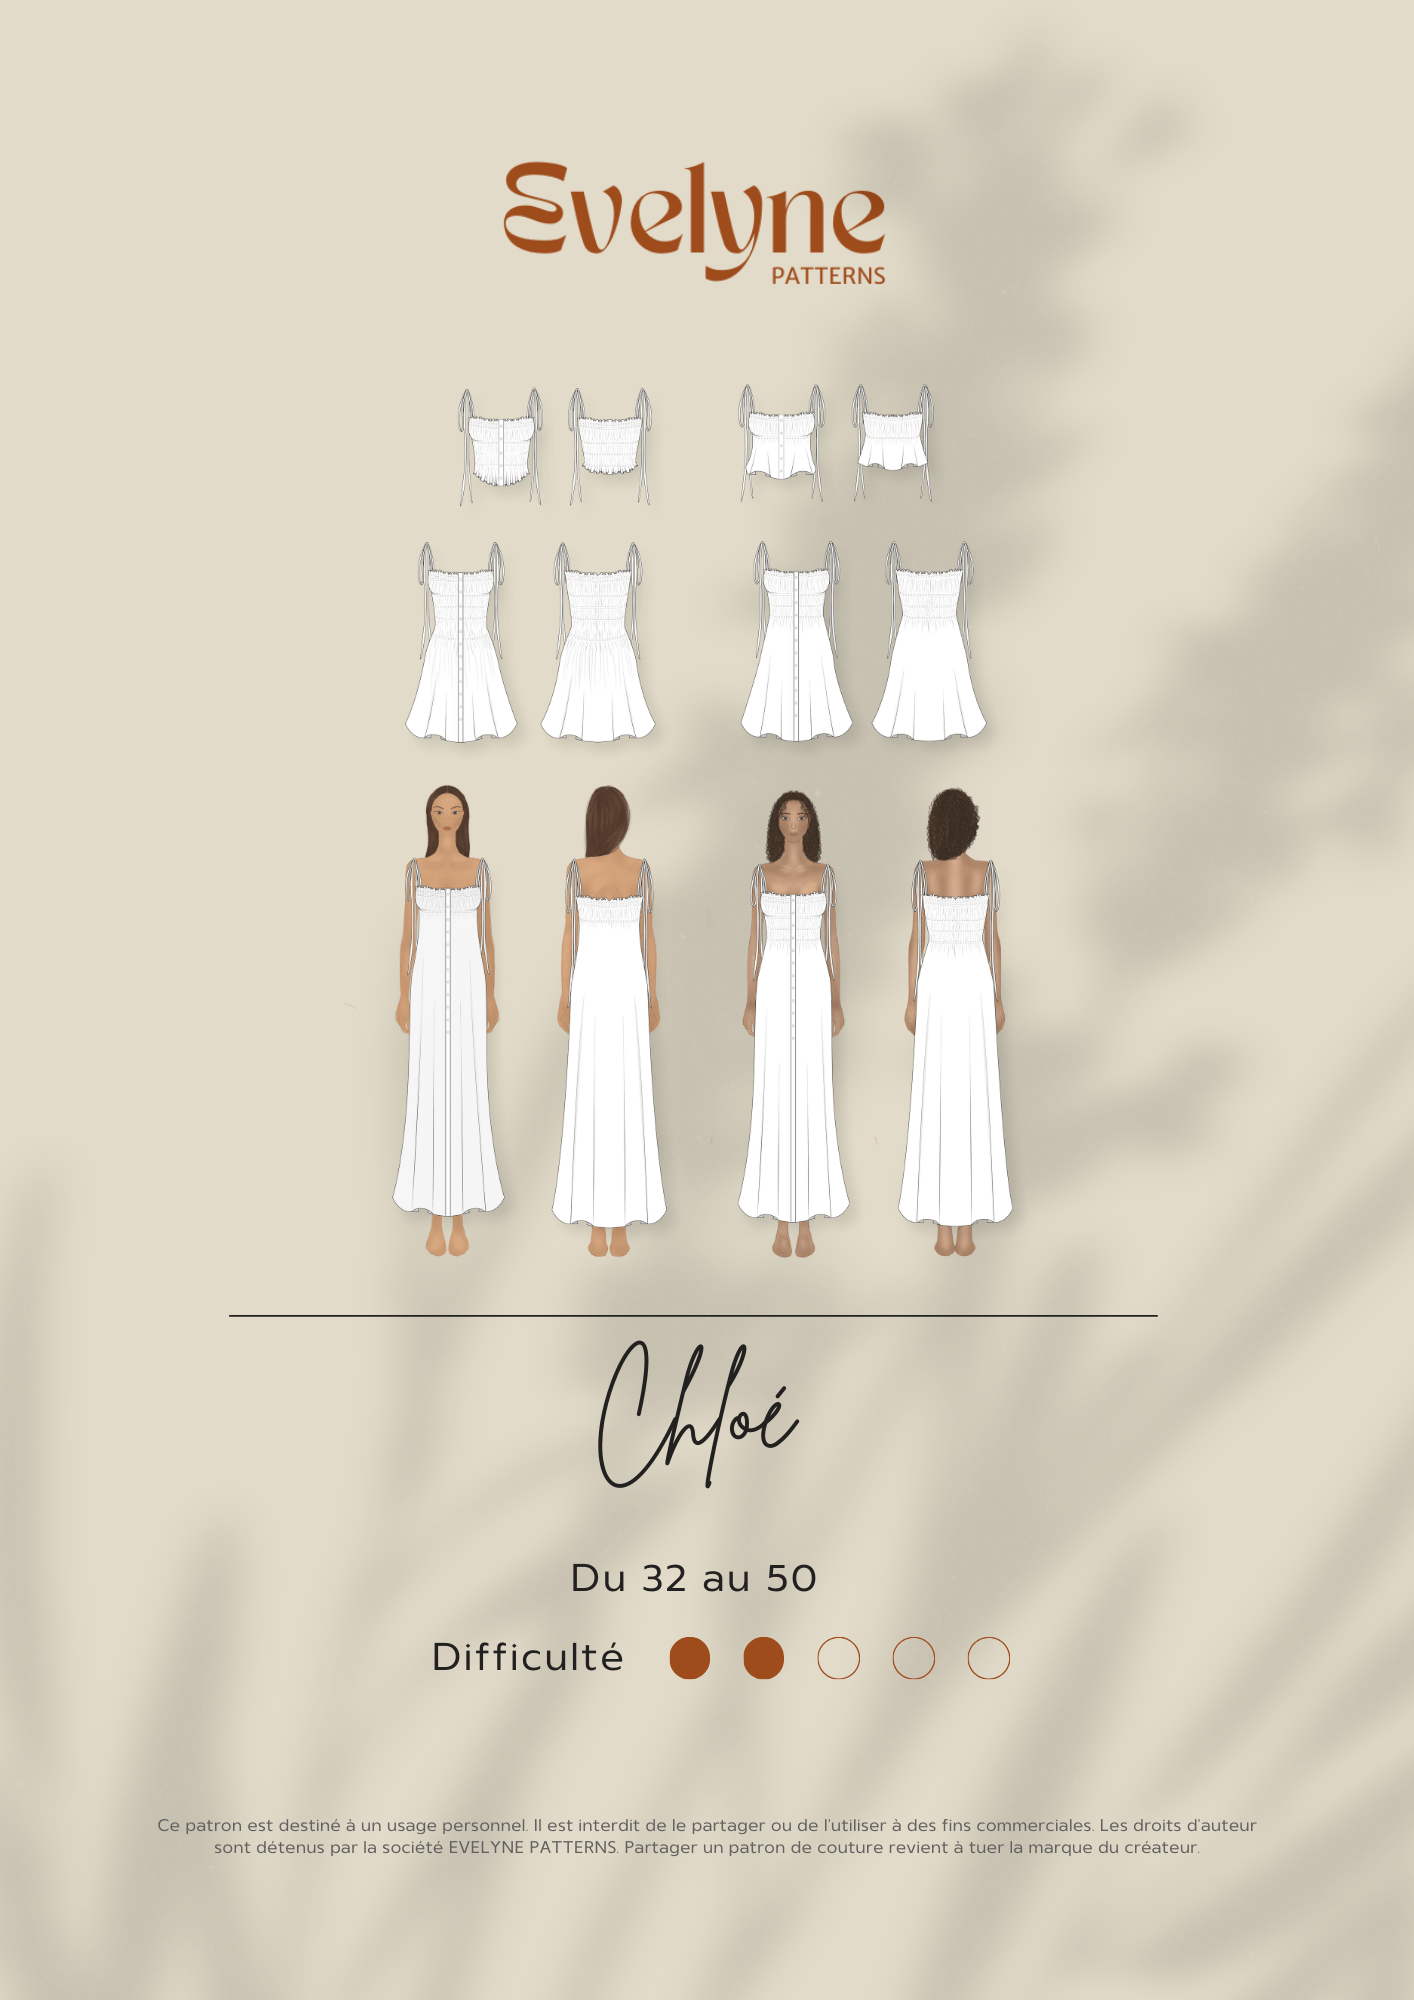
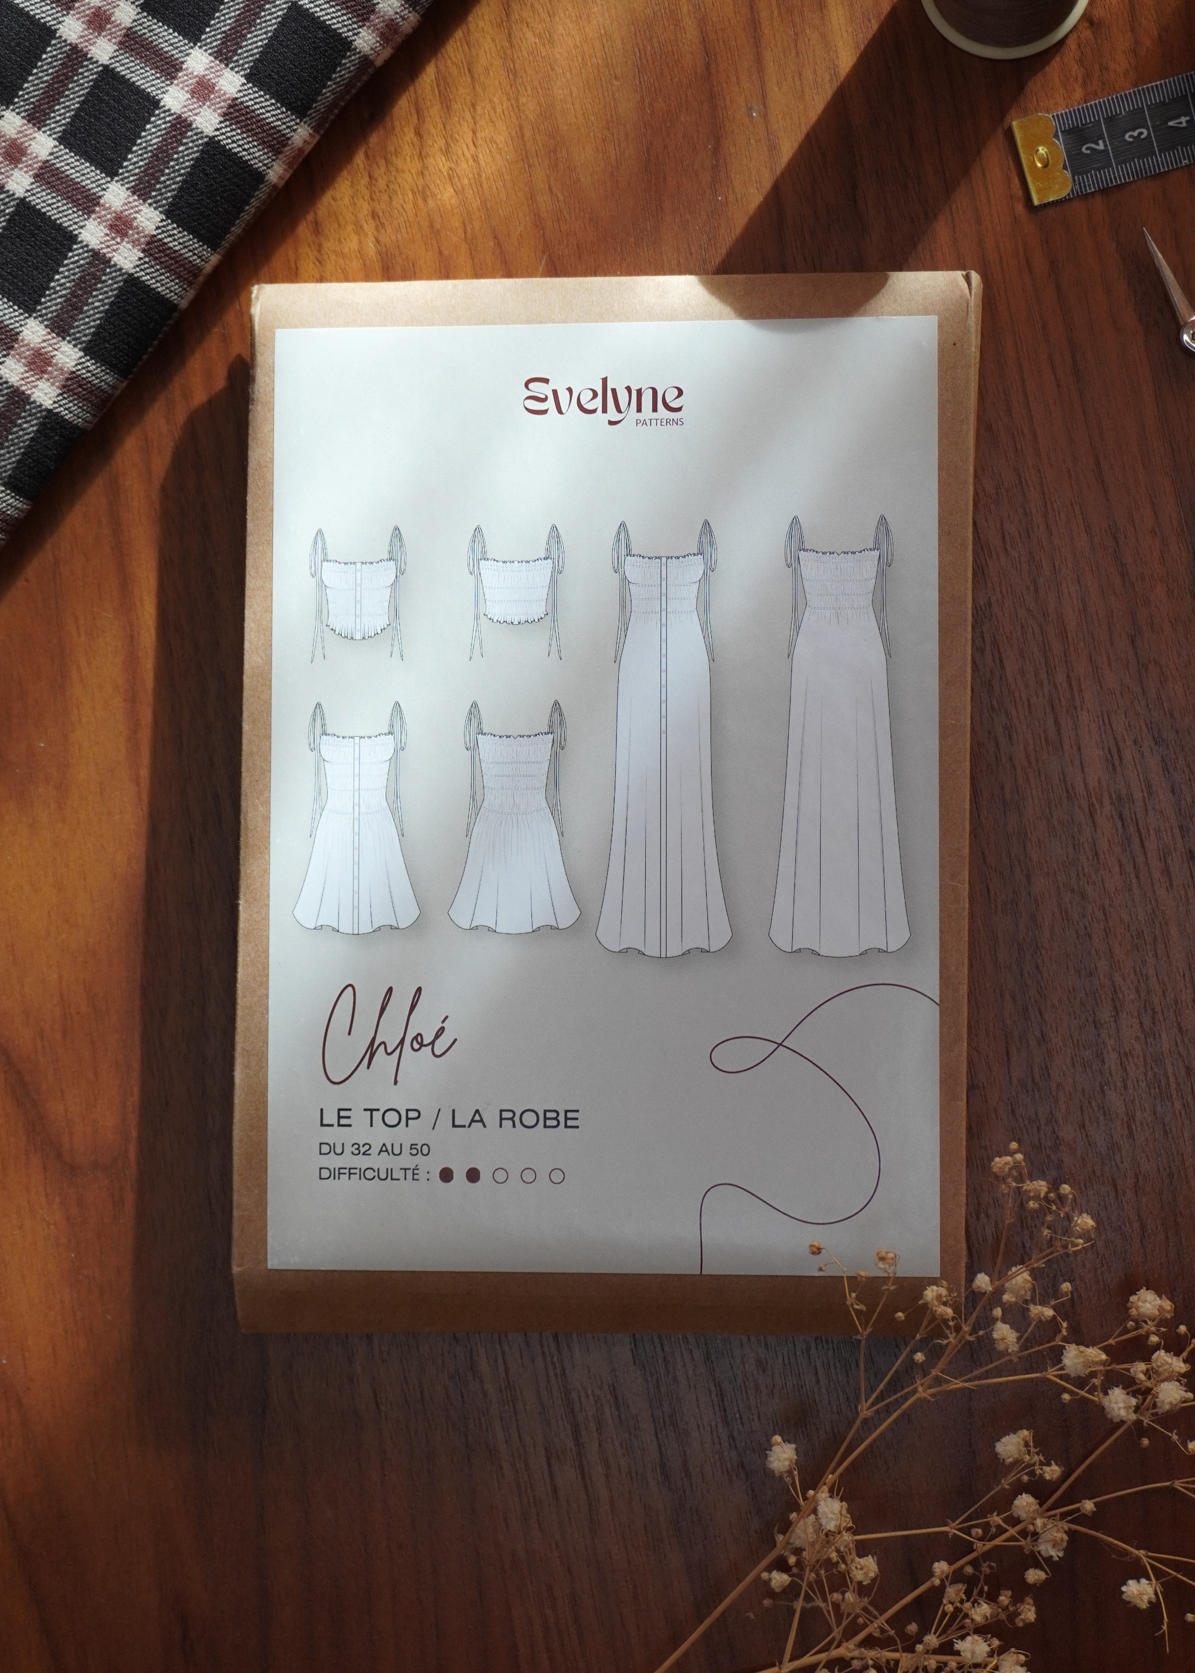
Discover all the Chloé pattern hacks
Want to customize your dress even further? Find all the tutorials, sewing hacks, and inspiration for the Chloé pattern.